FARMHOUSE BREAD

FARMHOUSE BREAD
There’s something holy about freshly baked bread, it’s an experience irresistible to me. Whether slathered in butter, dipped in oil, topped with seasoned tomatoes or strawberry compote, homemade bread is glorious.
This recipe is NYT Cooking’s famous no knead bread and is the perfect starter recipe for someone new to bread baking, like I was. Just as the name stipulates, no kneading is required, so we can all manage this recipe. It produces a caramelized, crunchy crust with a pure white, soft inside.
I tried this recipe (same ingredients) ten times, and came out with seven different loaves. I tediously understood, ten loaves later, how important external factors are in bread baking. Factors like, water temperature, room temperature, rest time, oven pre-heating time, oven mode and more. Even though this is NYT Cooking’s ingredient list, I’ve adapted it to Dubai ingredient brands, temperatures and oven settings so you’ll get it right on your first try. Within the recipe method, I have added tips which are crucial for the success of your bread.
Whenever a bread recipe has rest time of over 12 hours, it’s a recipe worth trying, this recipe has a rest time of 13 hours. Within my steps, I’ve added day and time ideas to help guide you through the recipe and transform your baking experience in to the perfect weekend project.
DETAILS:
This recipe creates the perfect farmhouse bread. Prep time of 15 minutes, rest time of 14 hours and bake time of 50 minutes.
INGREDIENTS:
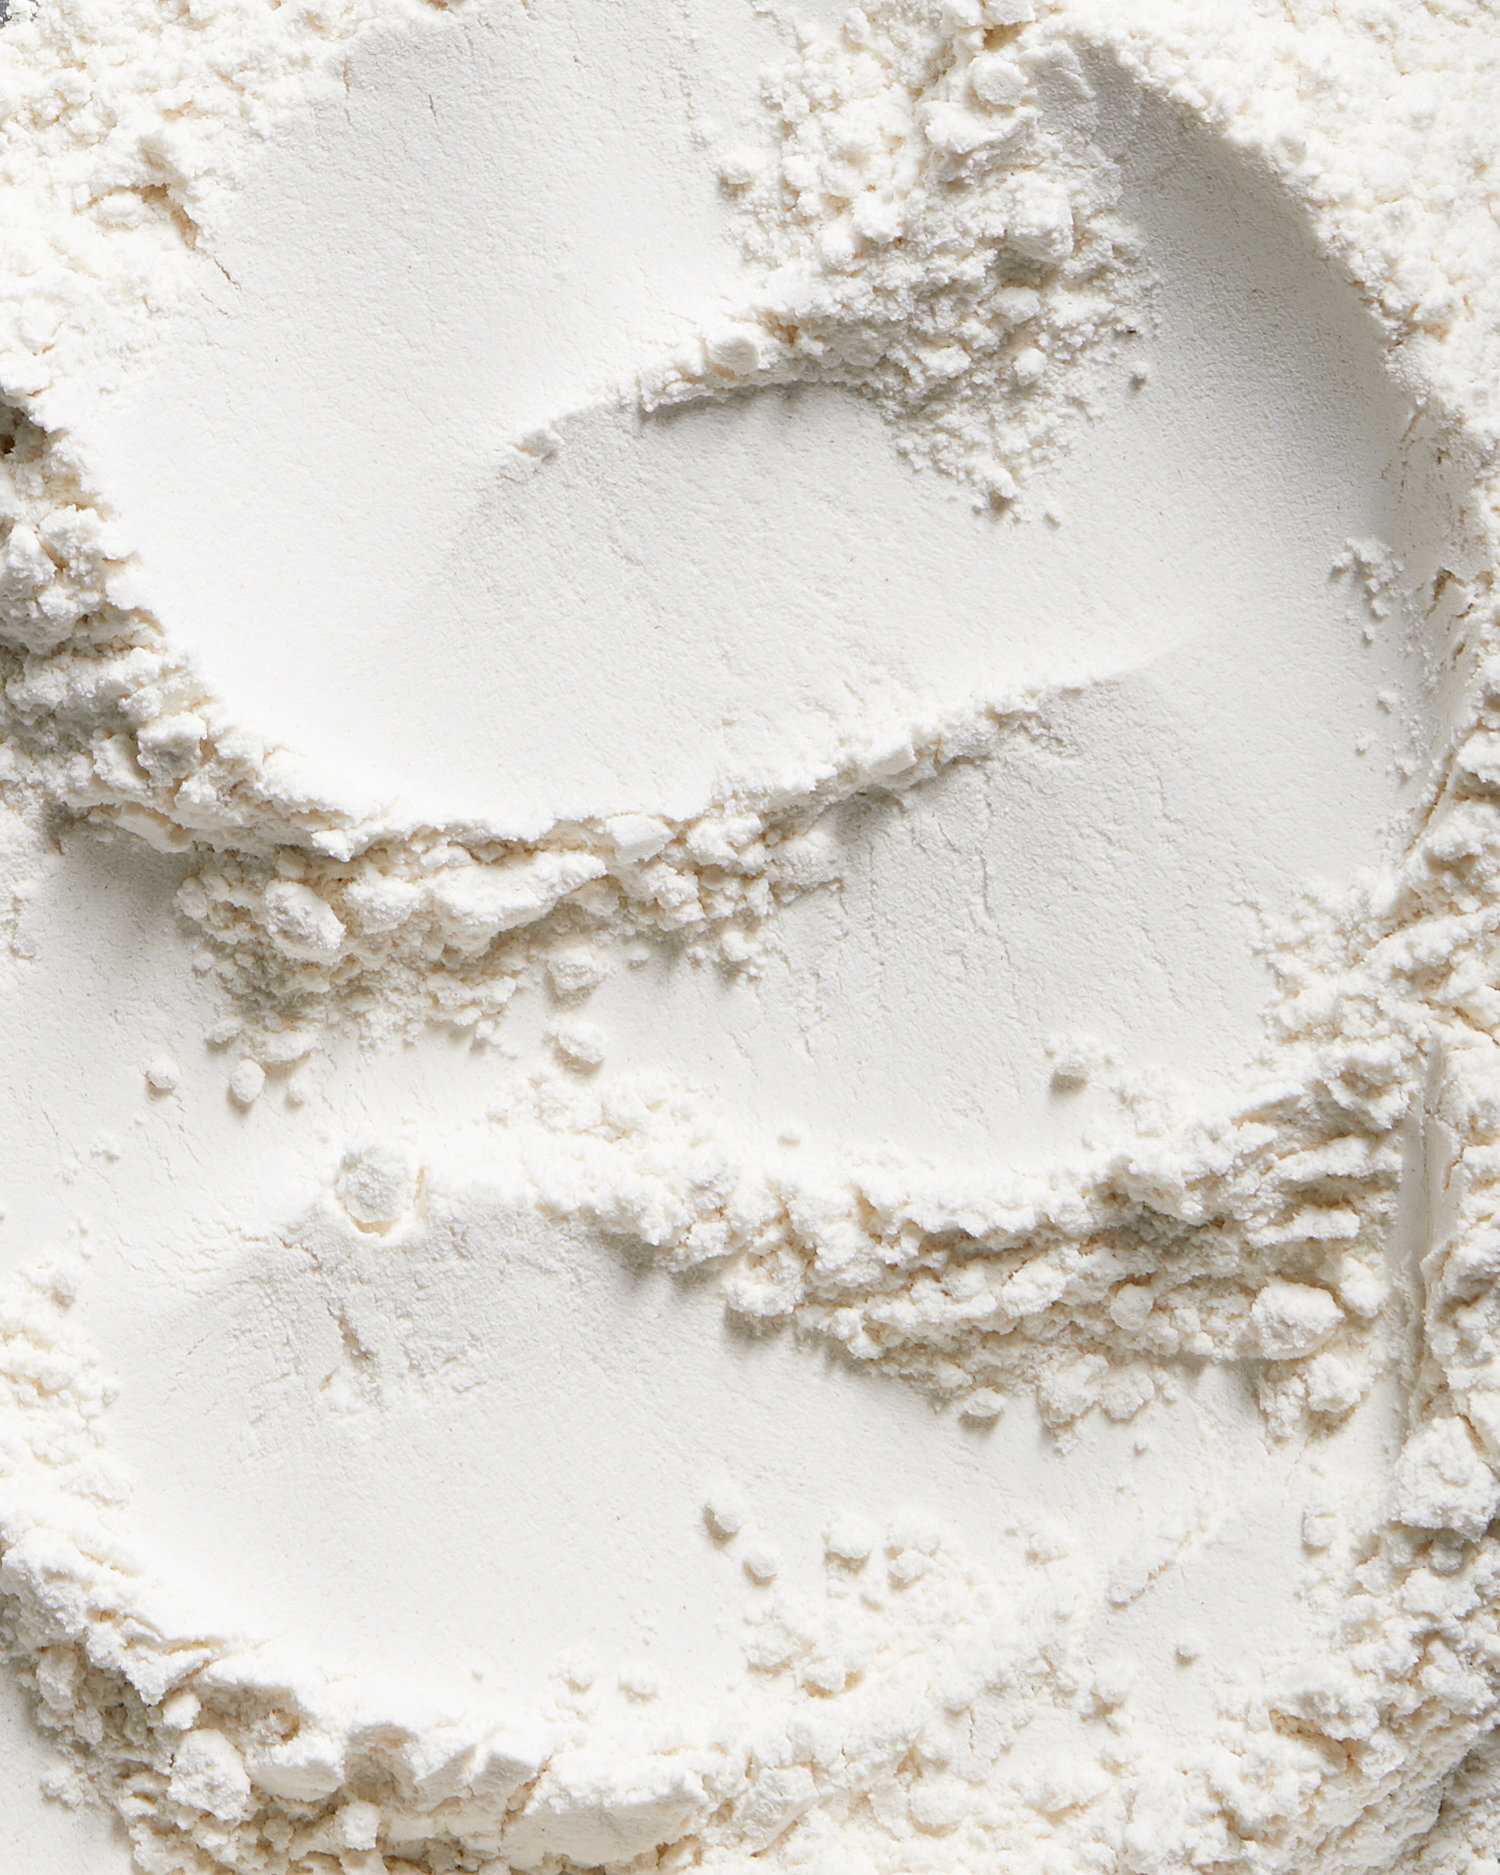
430 grams Organic Bread Flour (Waitrose Duchy Organic, Strong White Bread Flour)
¼ teaspoon Instant Yeast (DCL)
2 teaspoons Salt
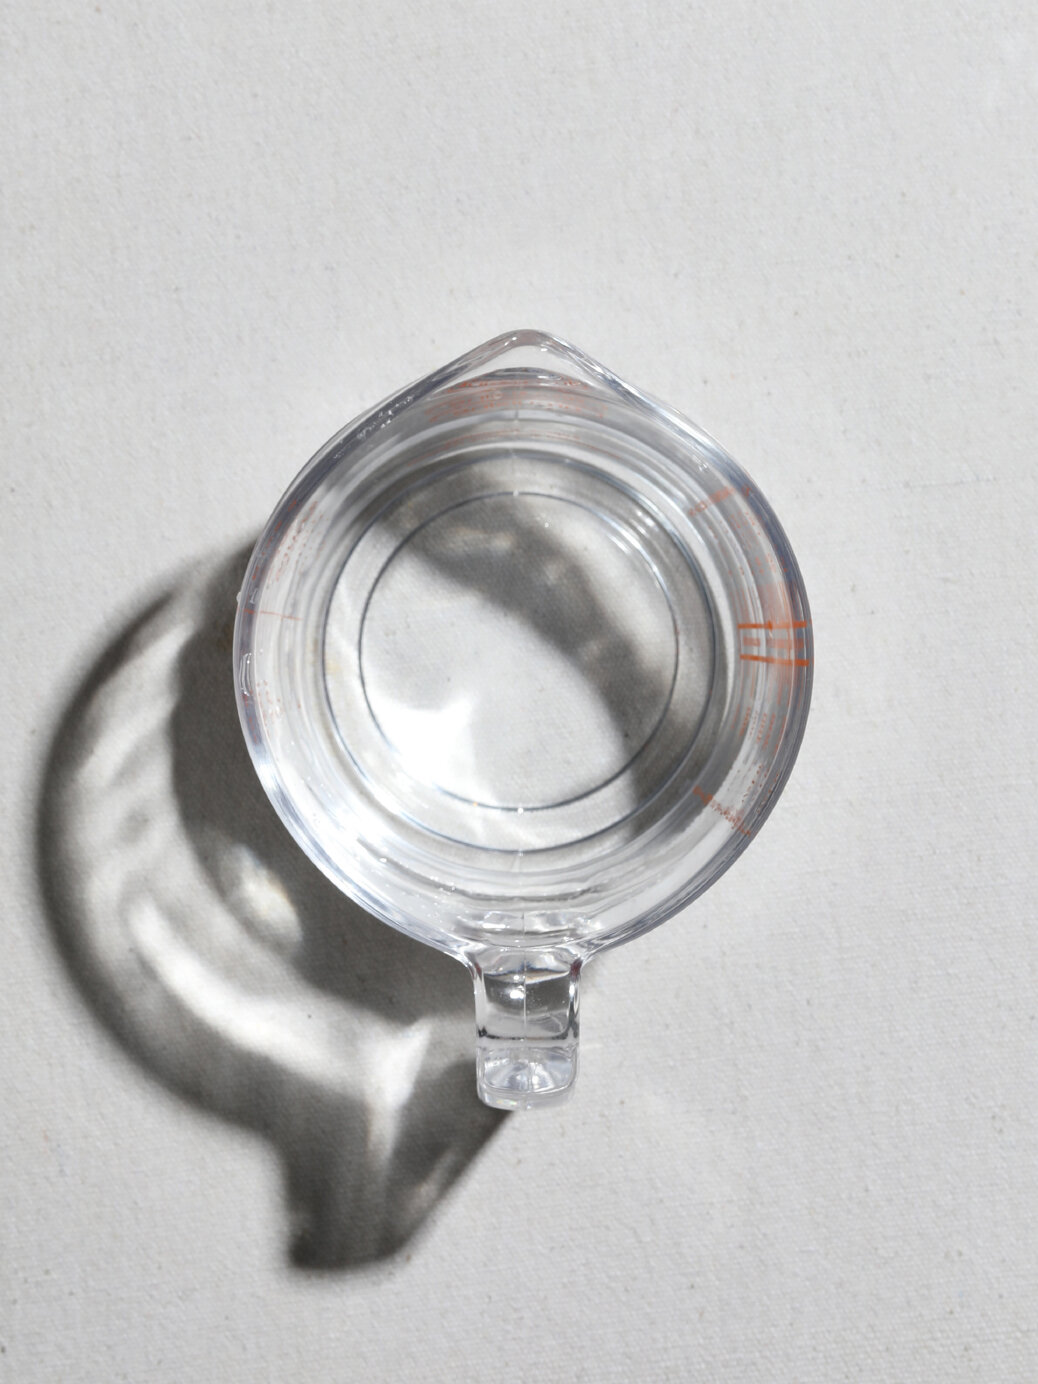
390 milliliters of lukewarm Bottled Water
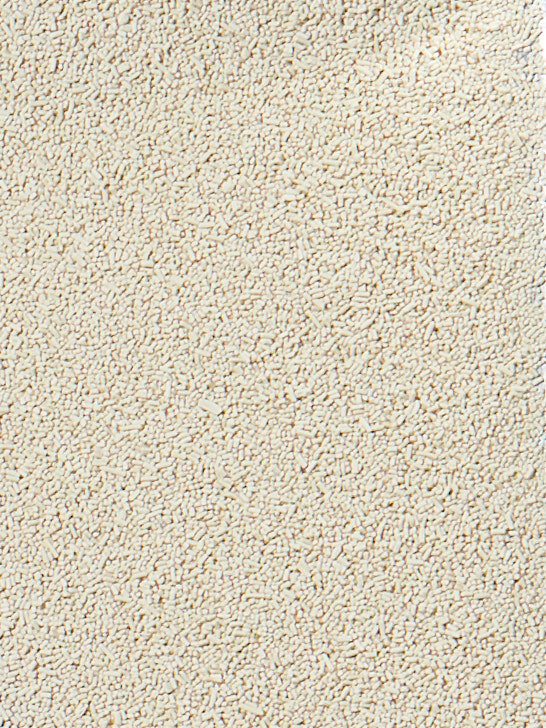
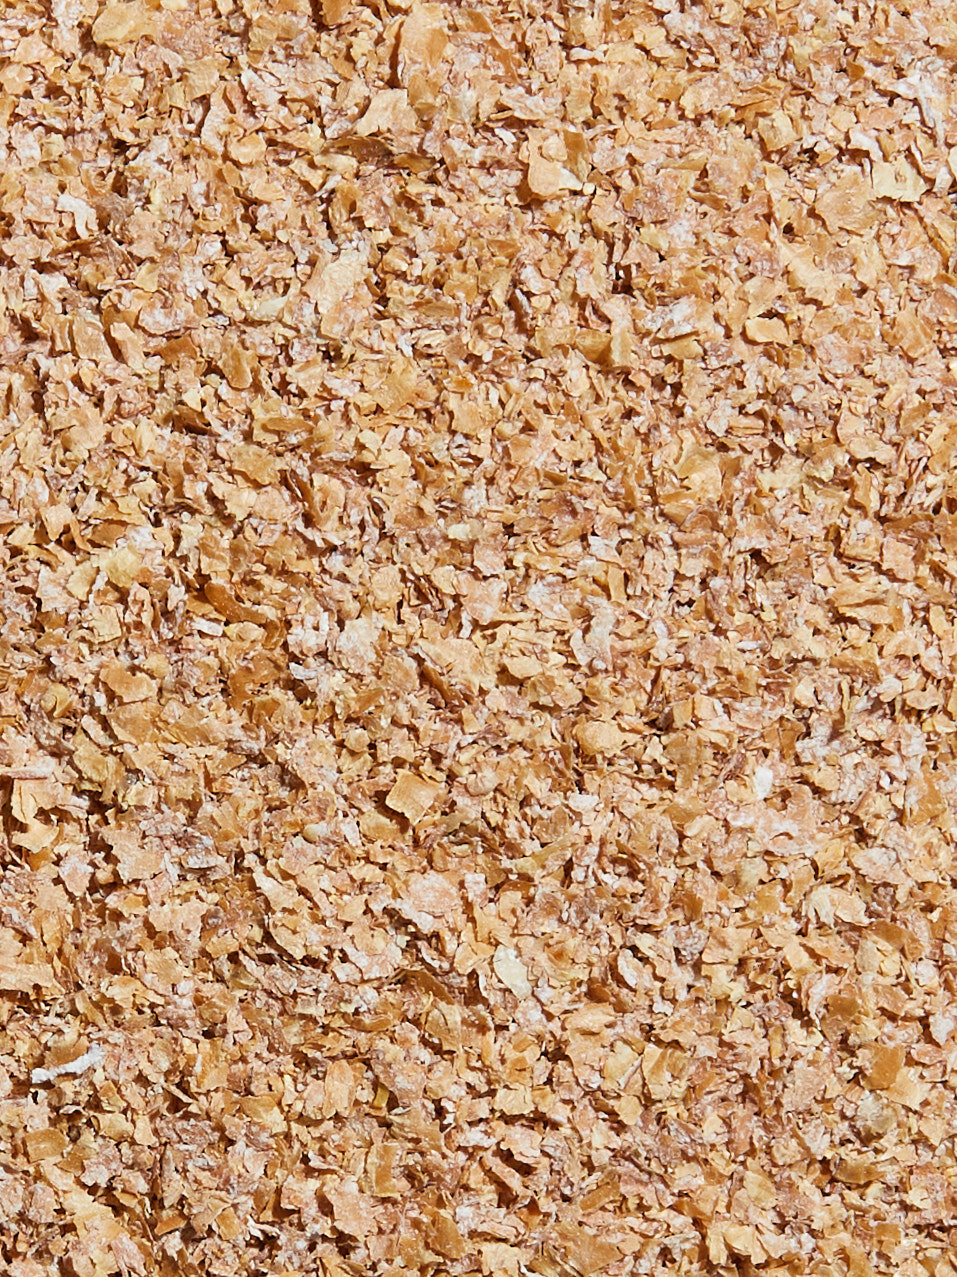
3 handfuls of Wheat Bran
Extra flour for dusting
I’ve tagged the brands that I use so you can enjoy the same results that I have.


Equipment:
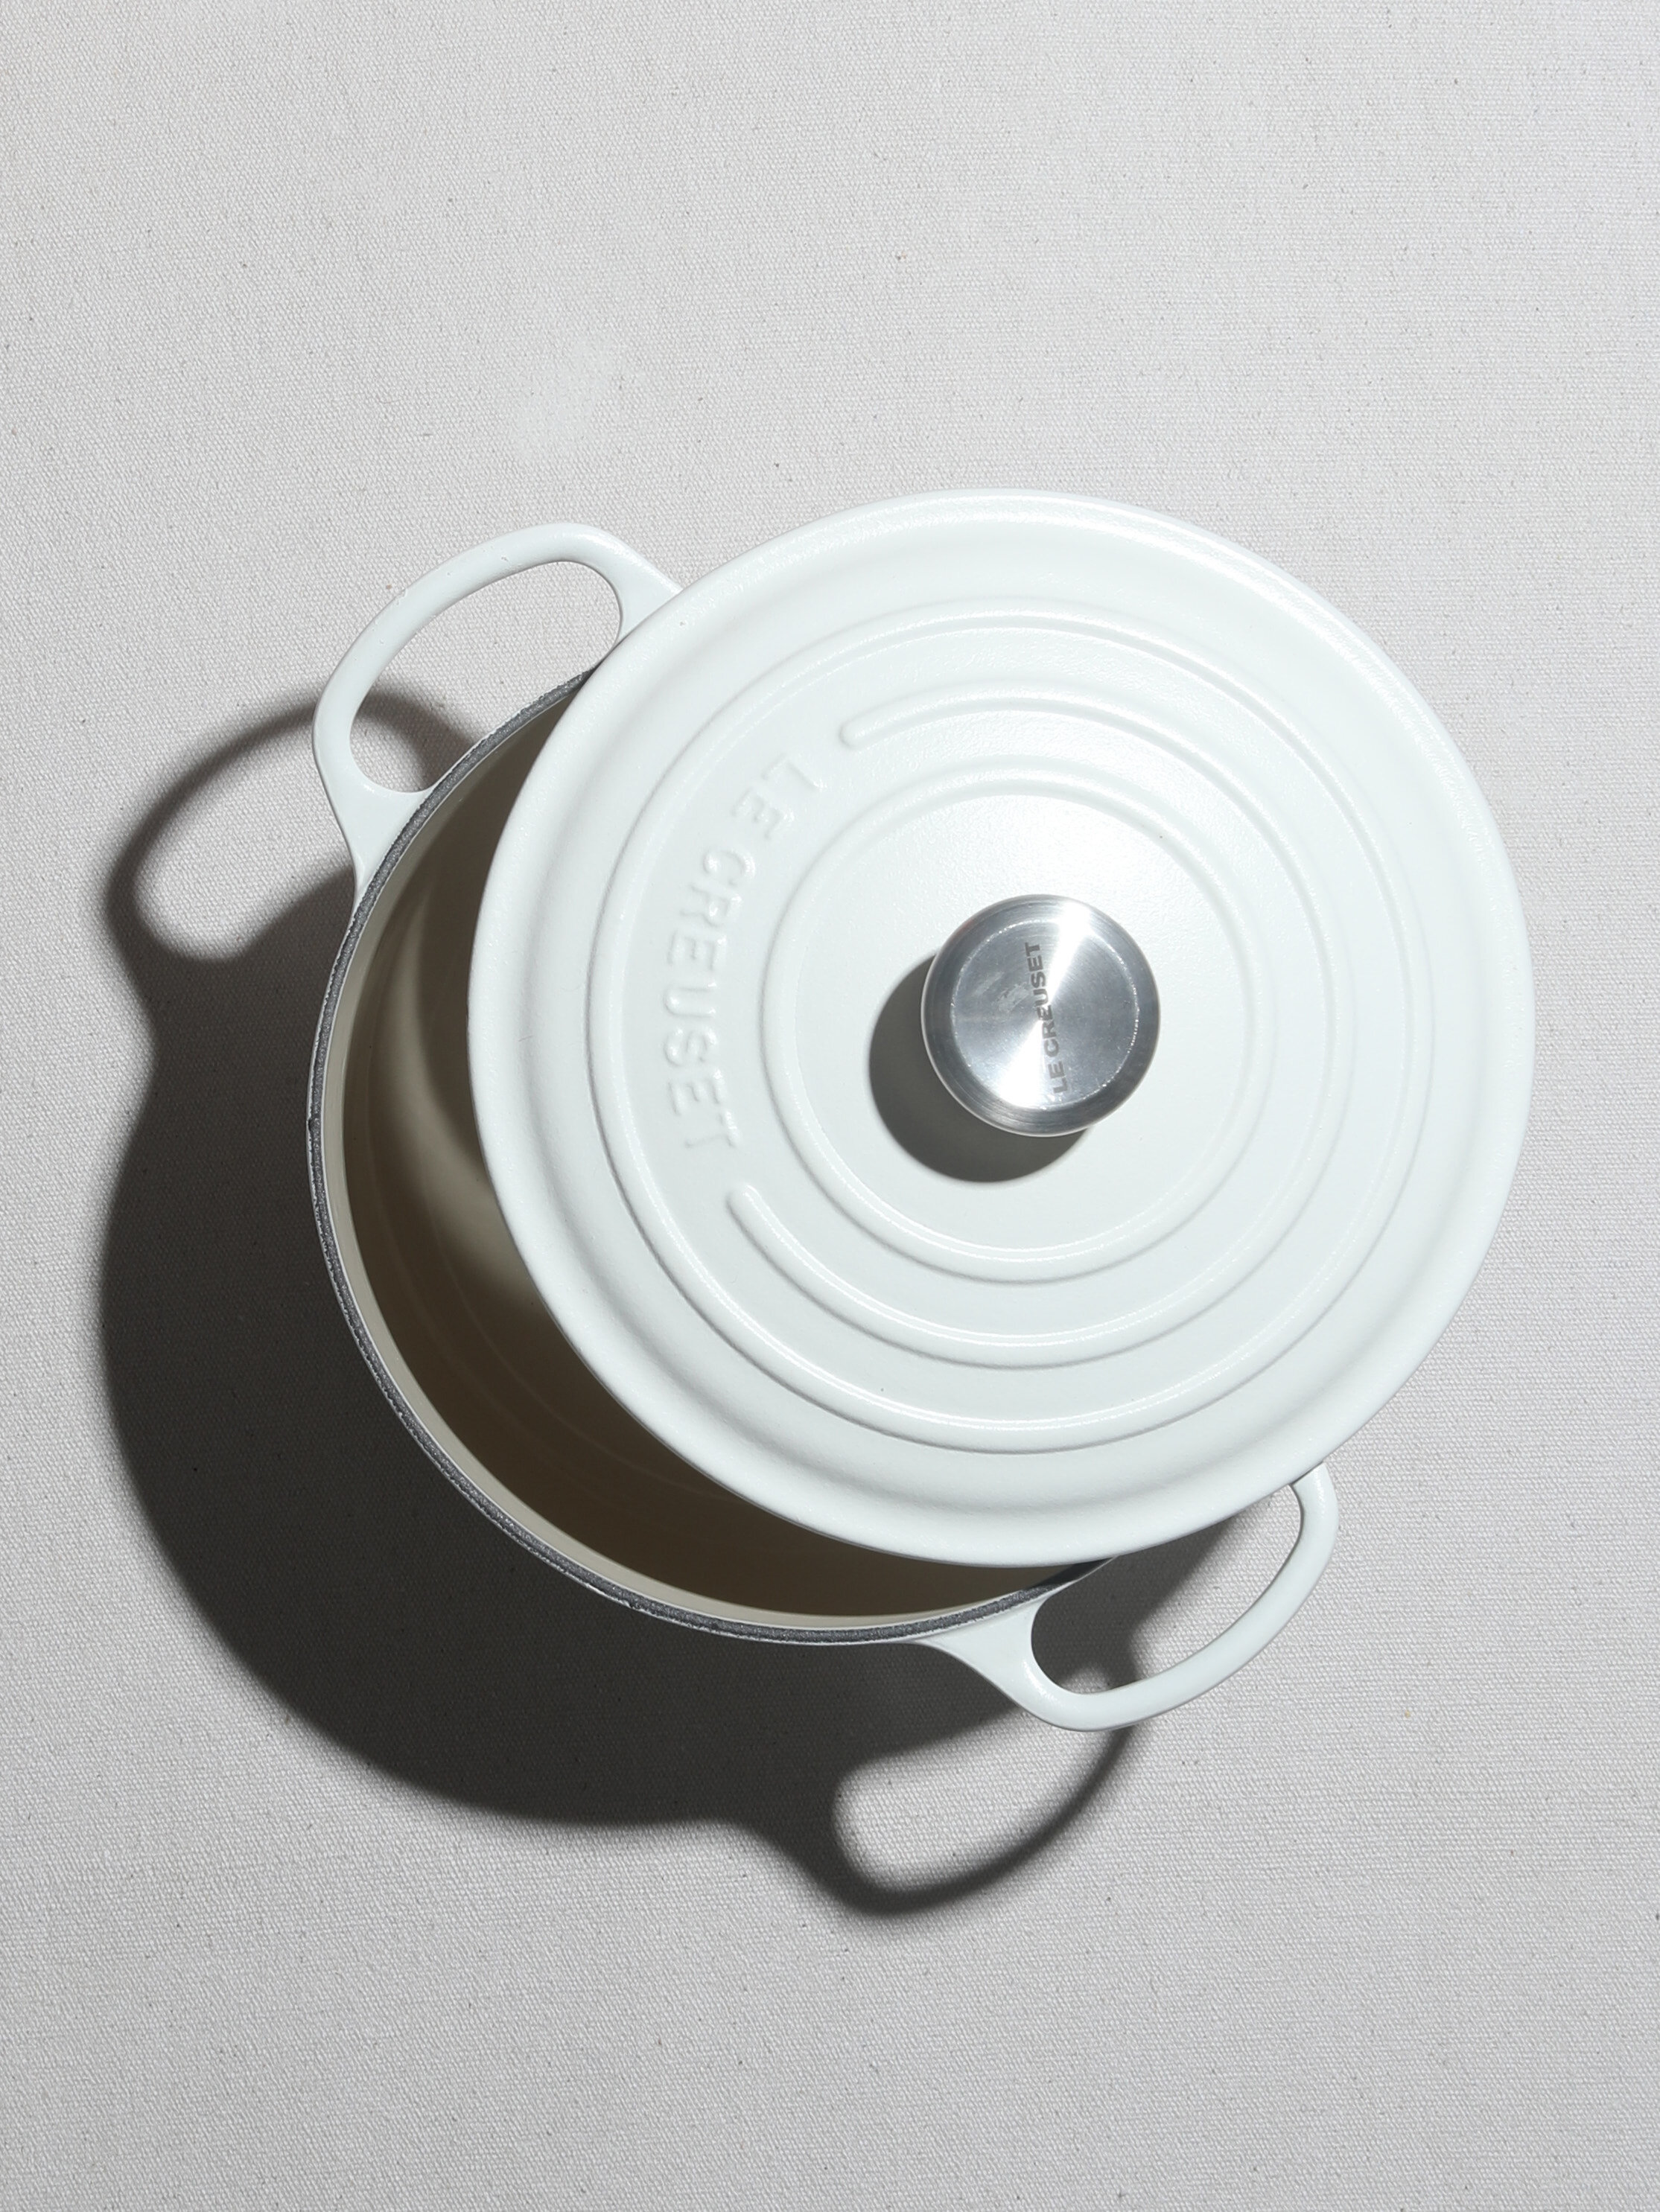
Large cast iron pot and lid
Large bowl allowing the dough to double in size
Scale
Liquid measuring cup
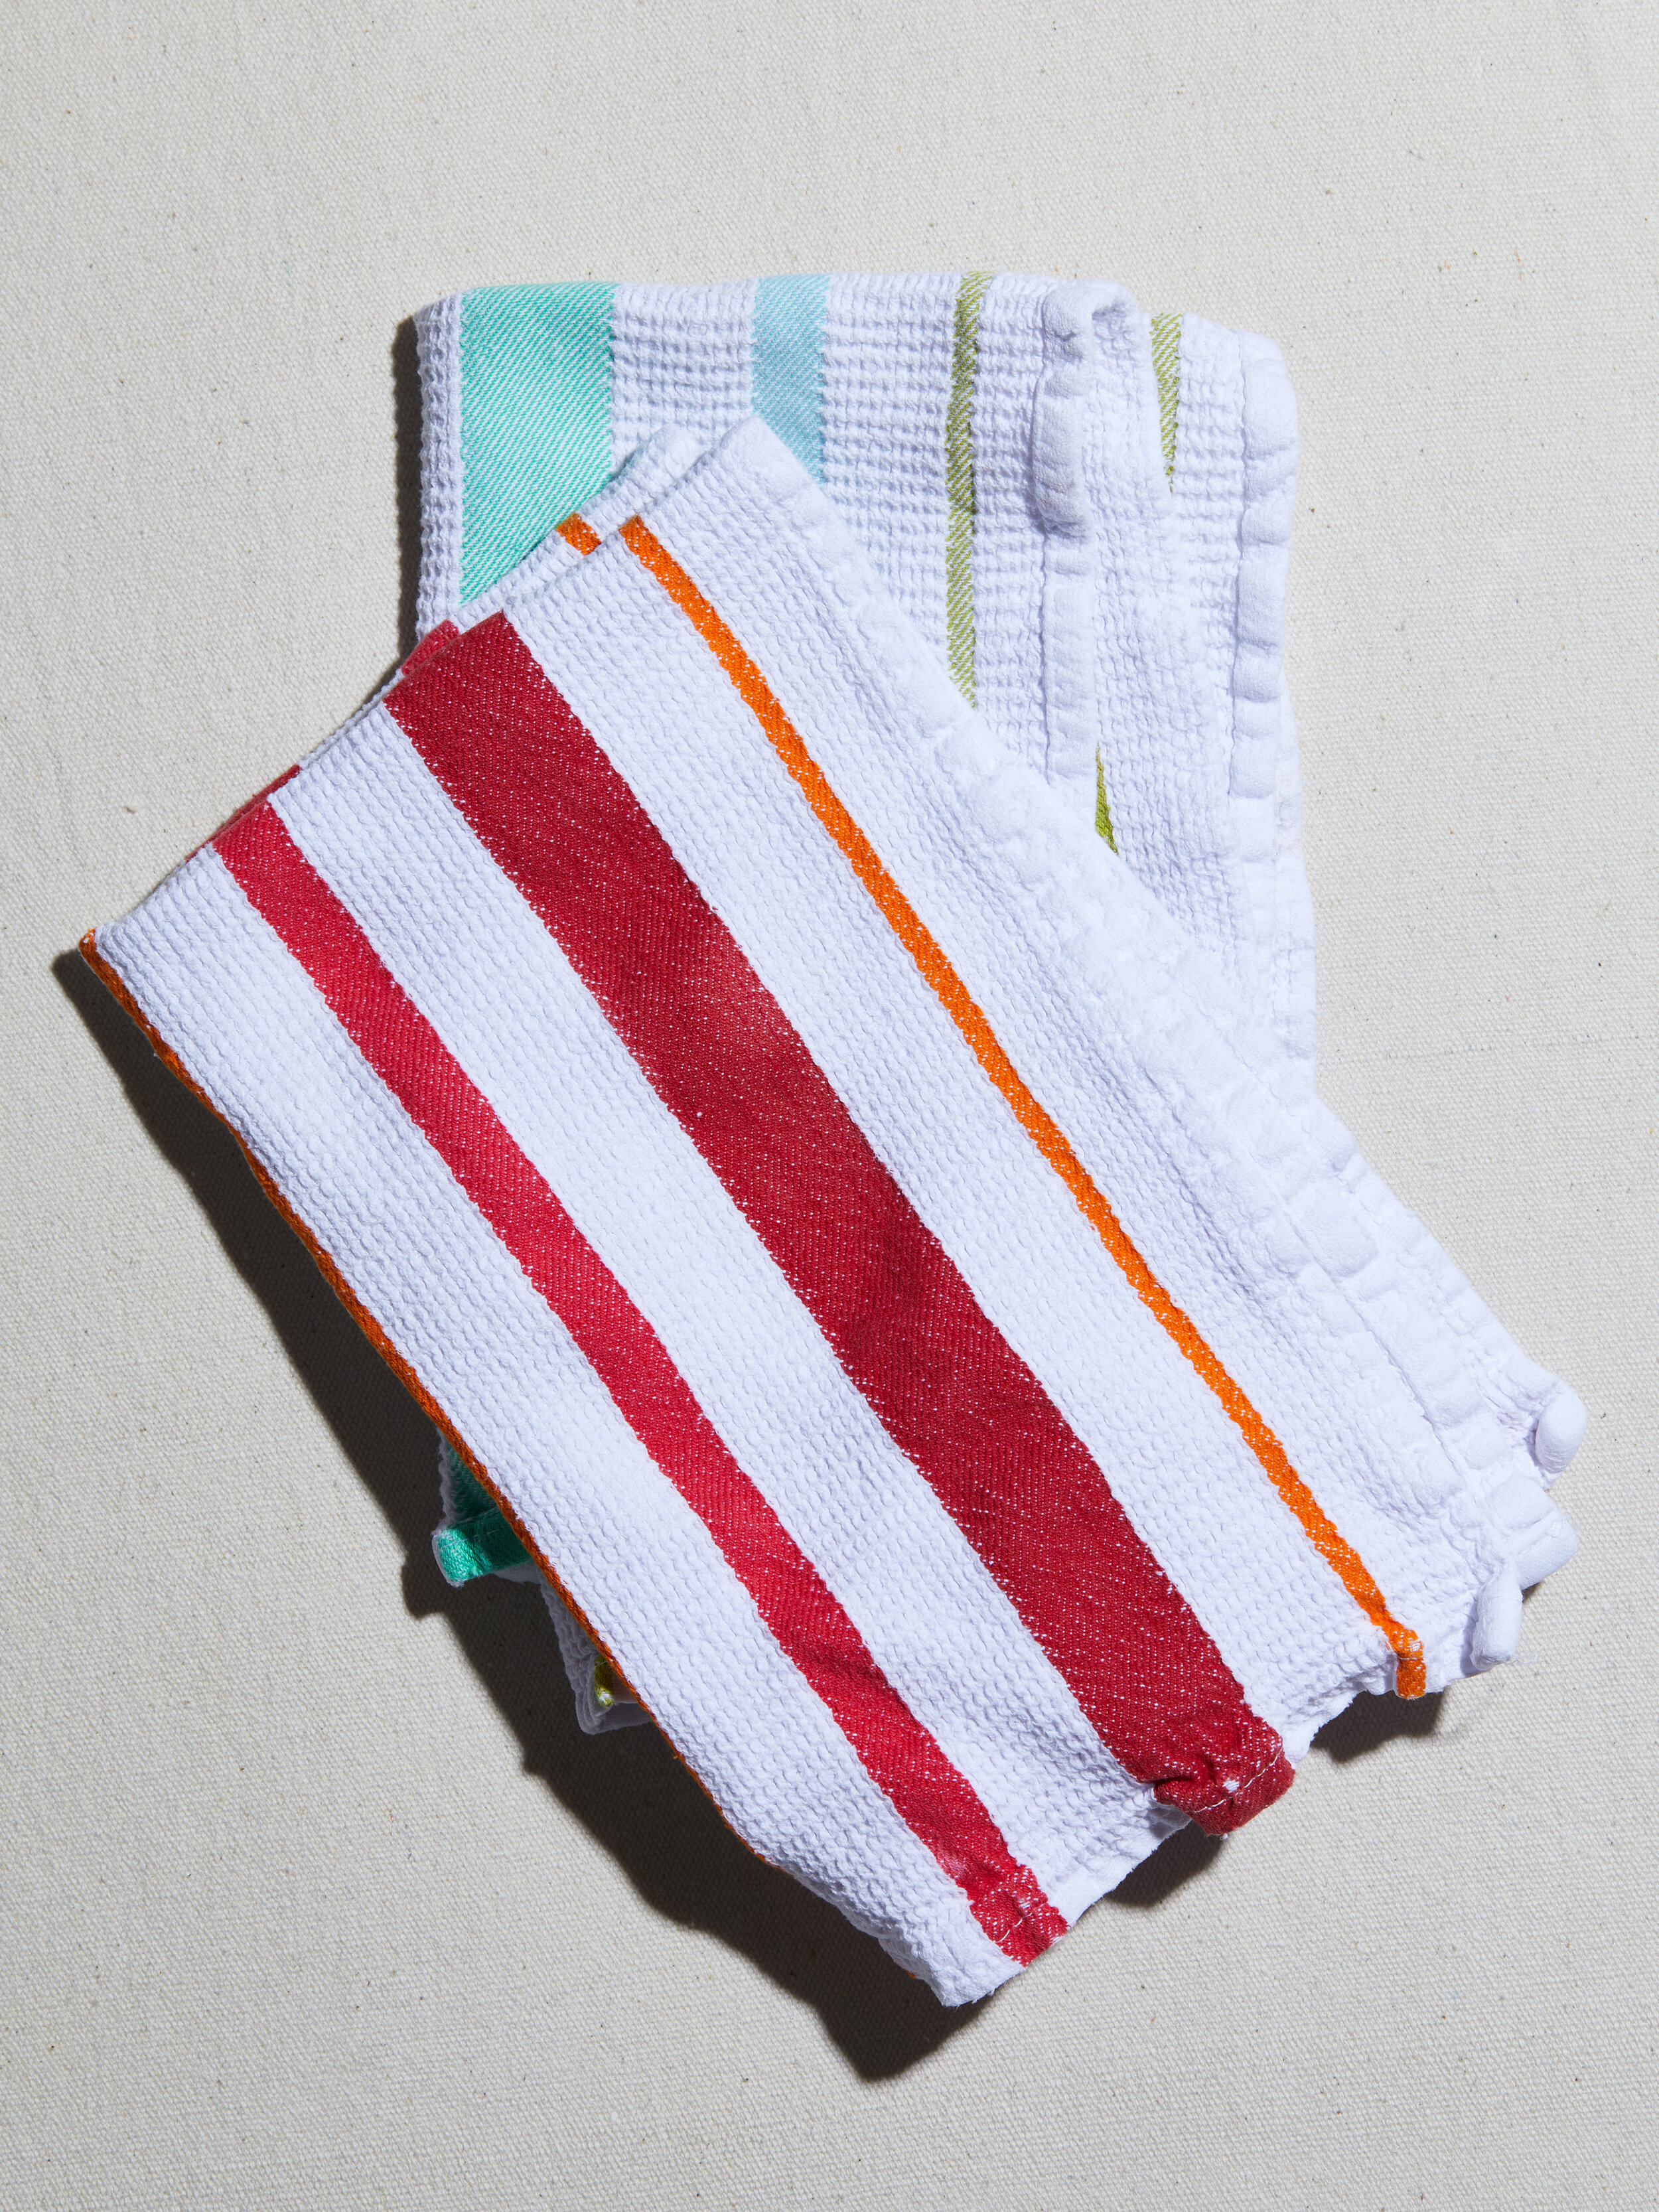
2 kitchen towels
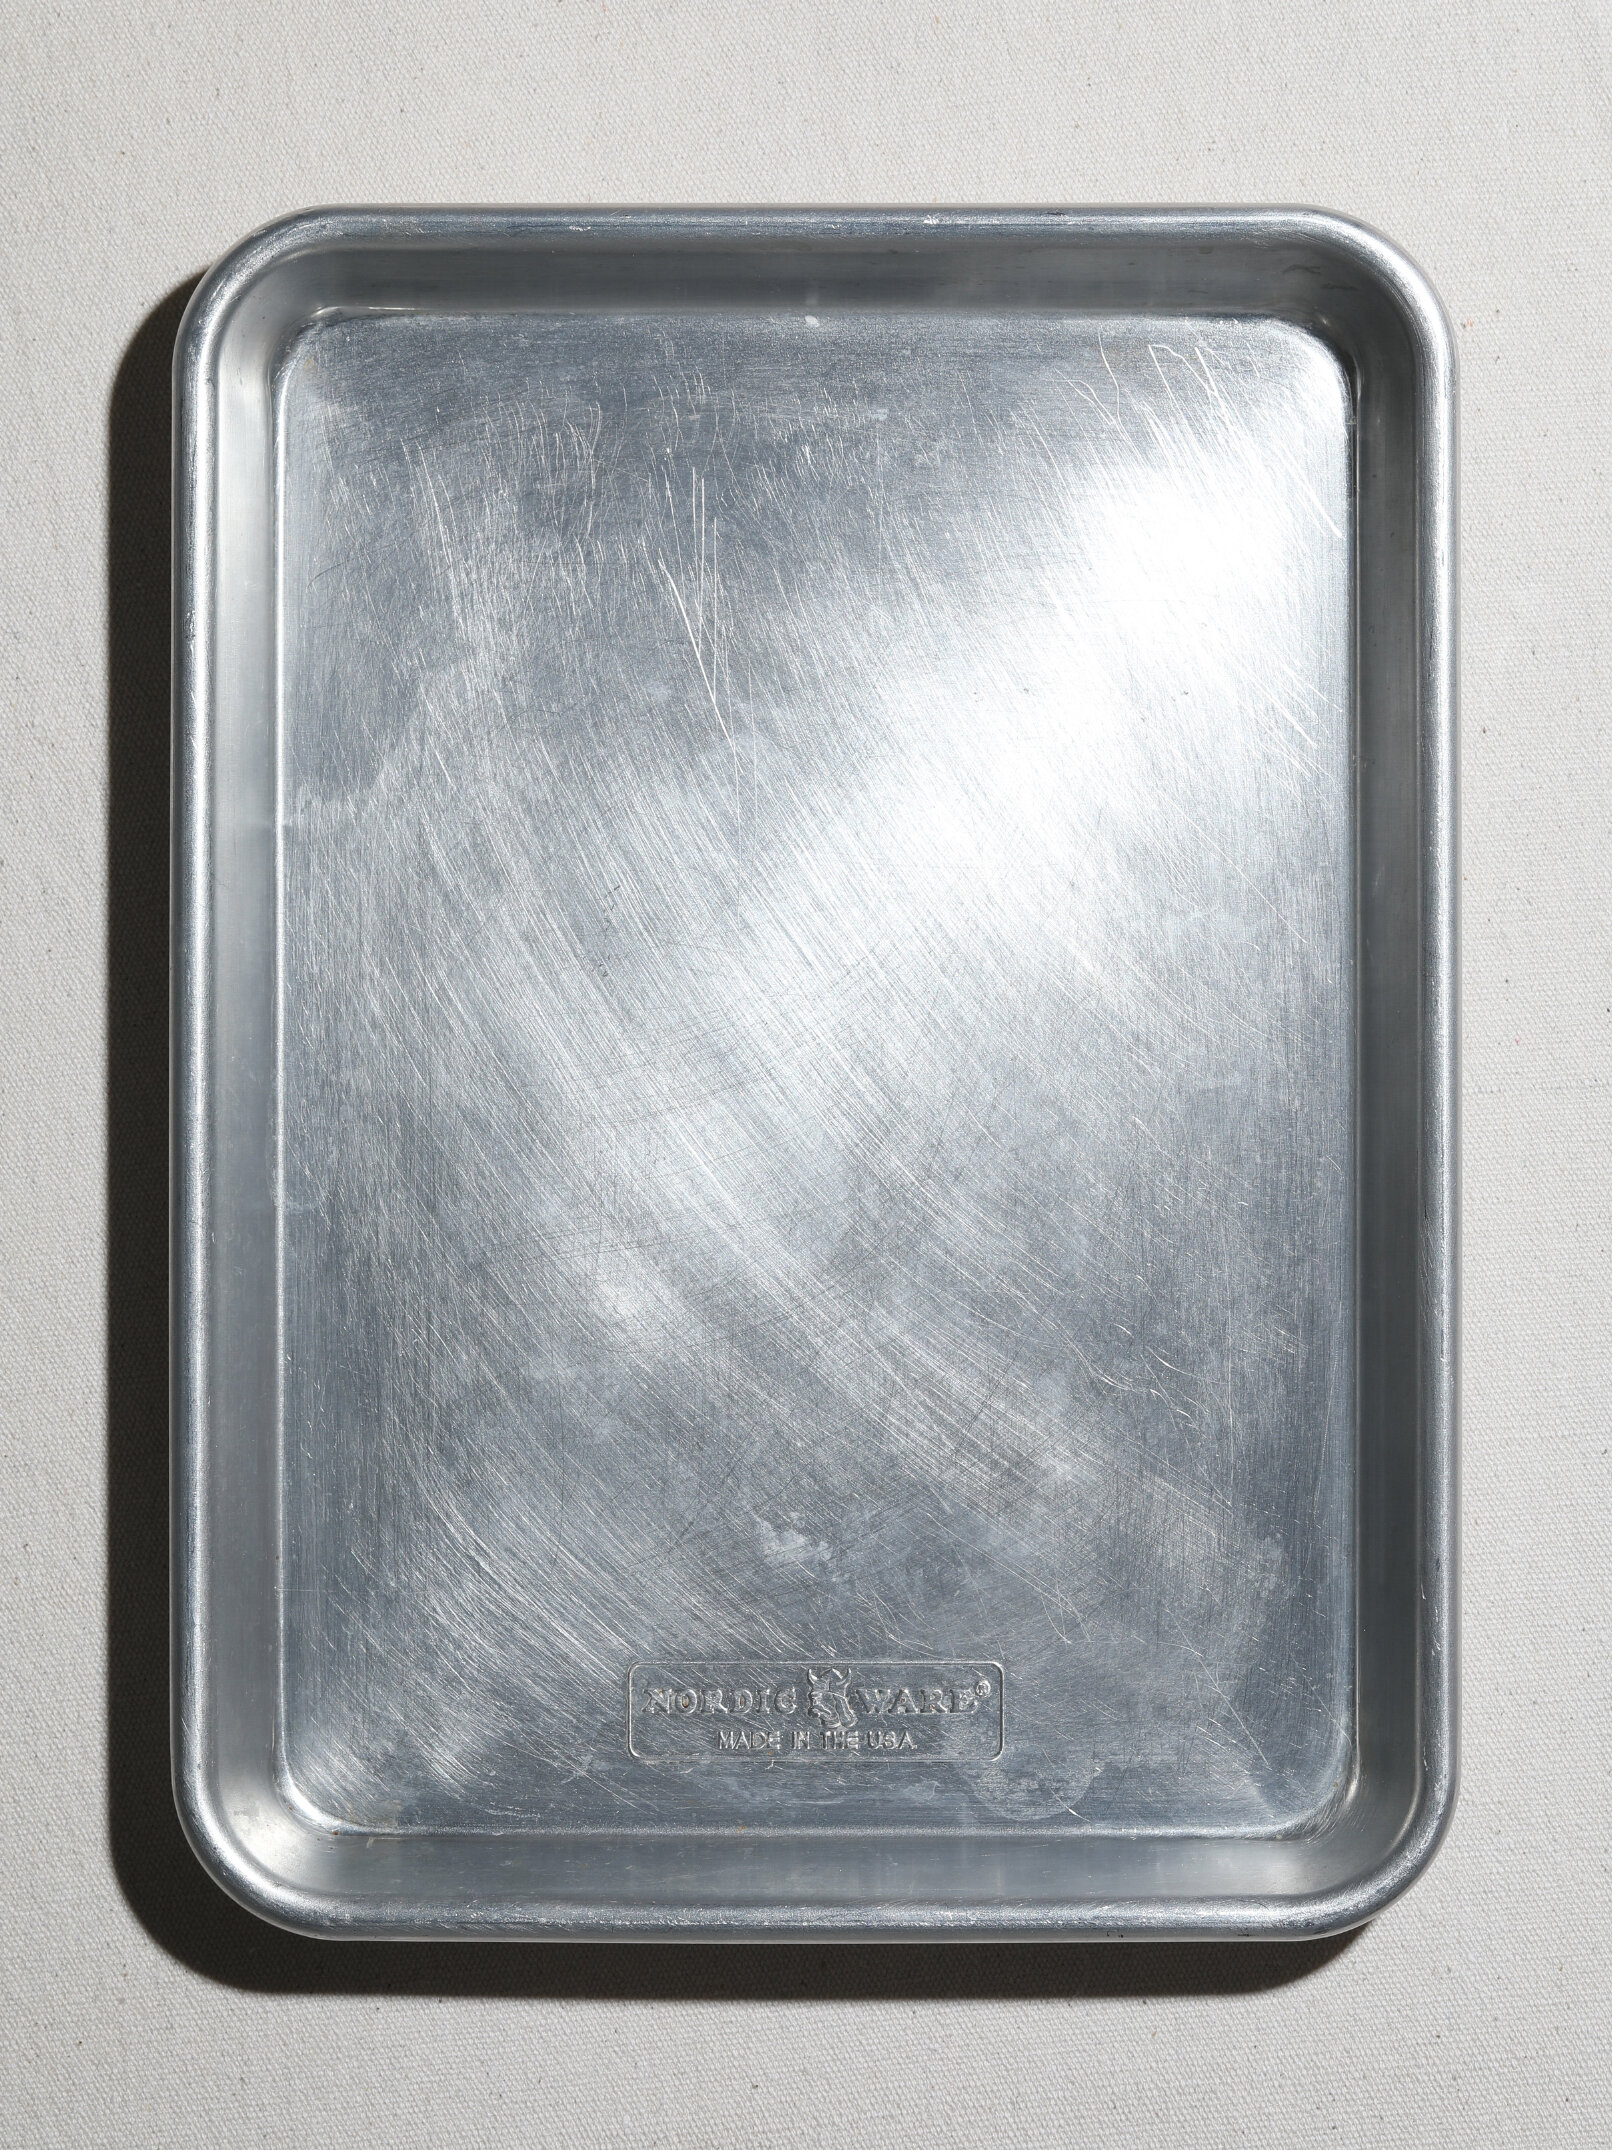
Baking sheet
1/4 and 1 teaspoon
Baking paper
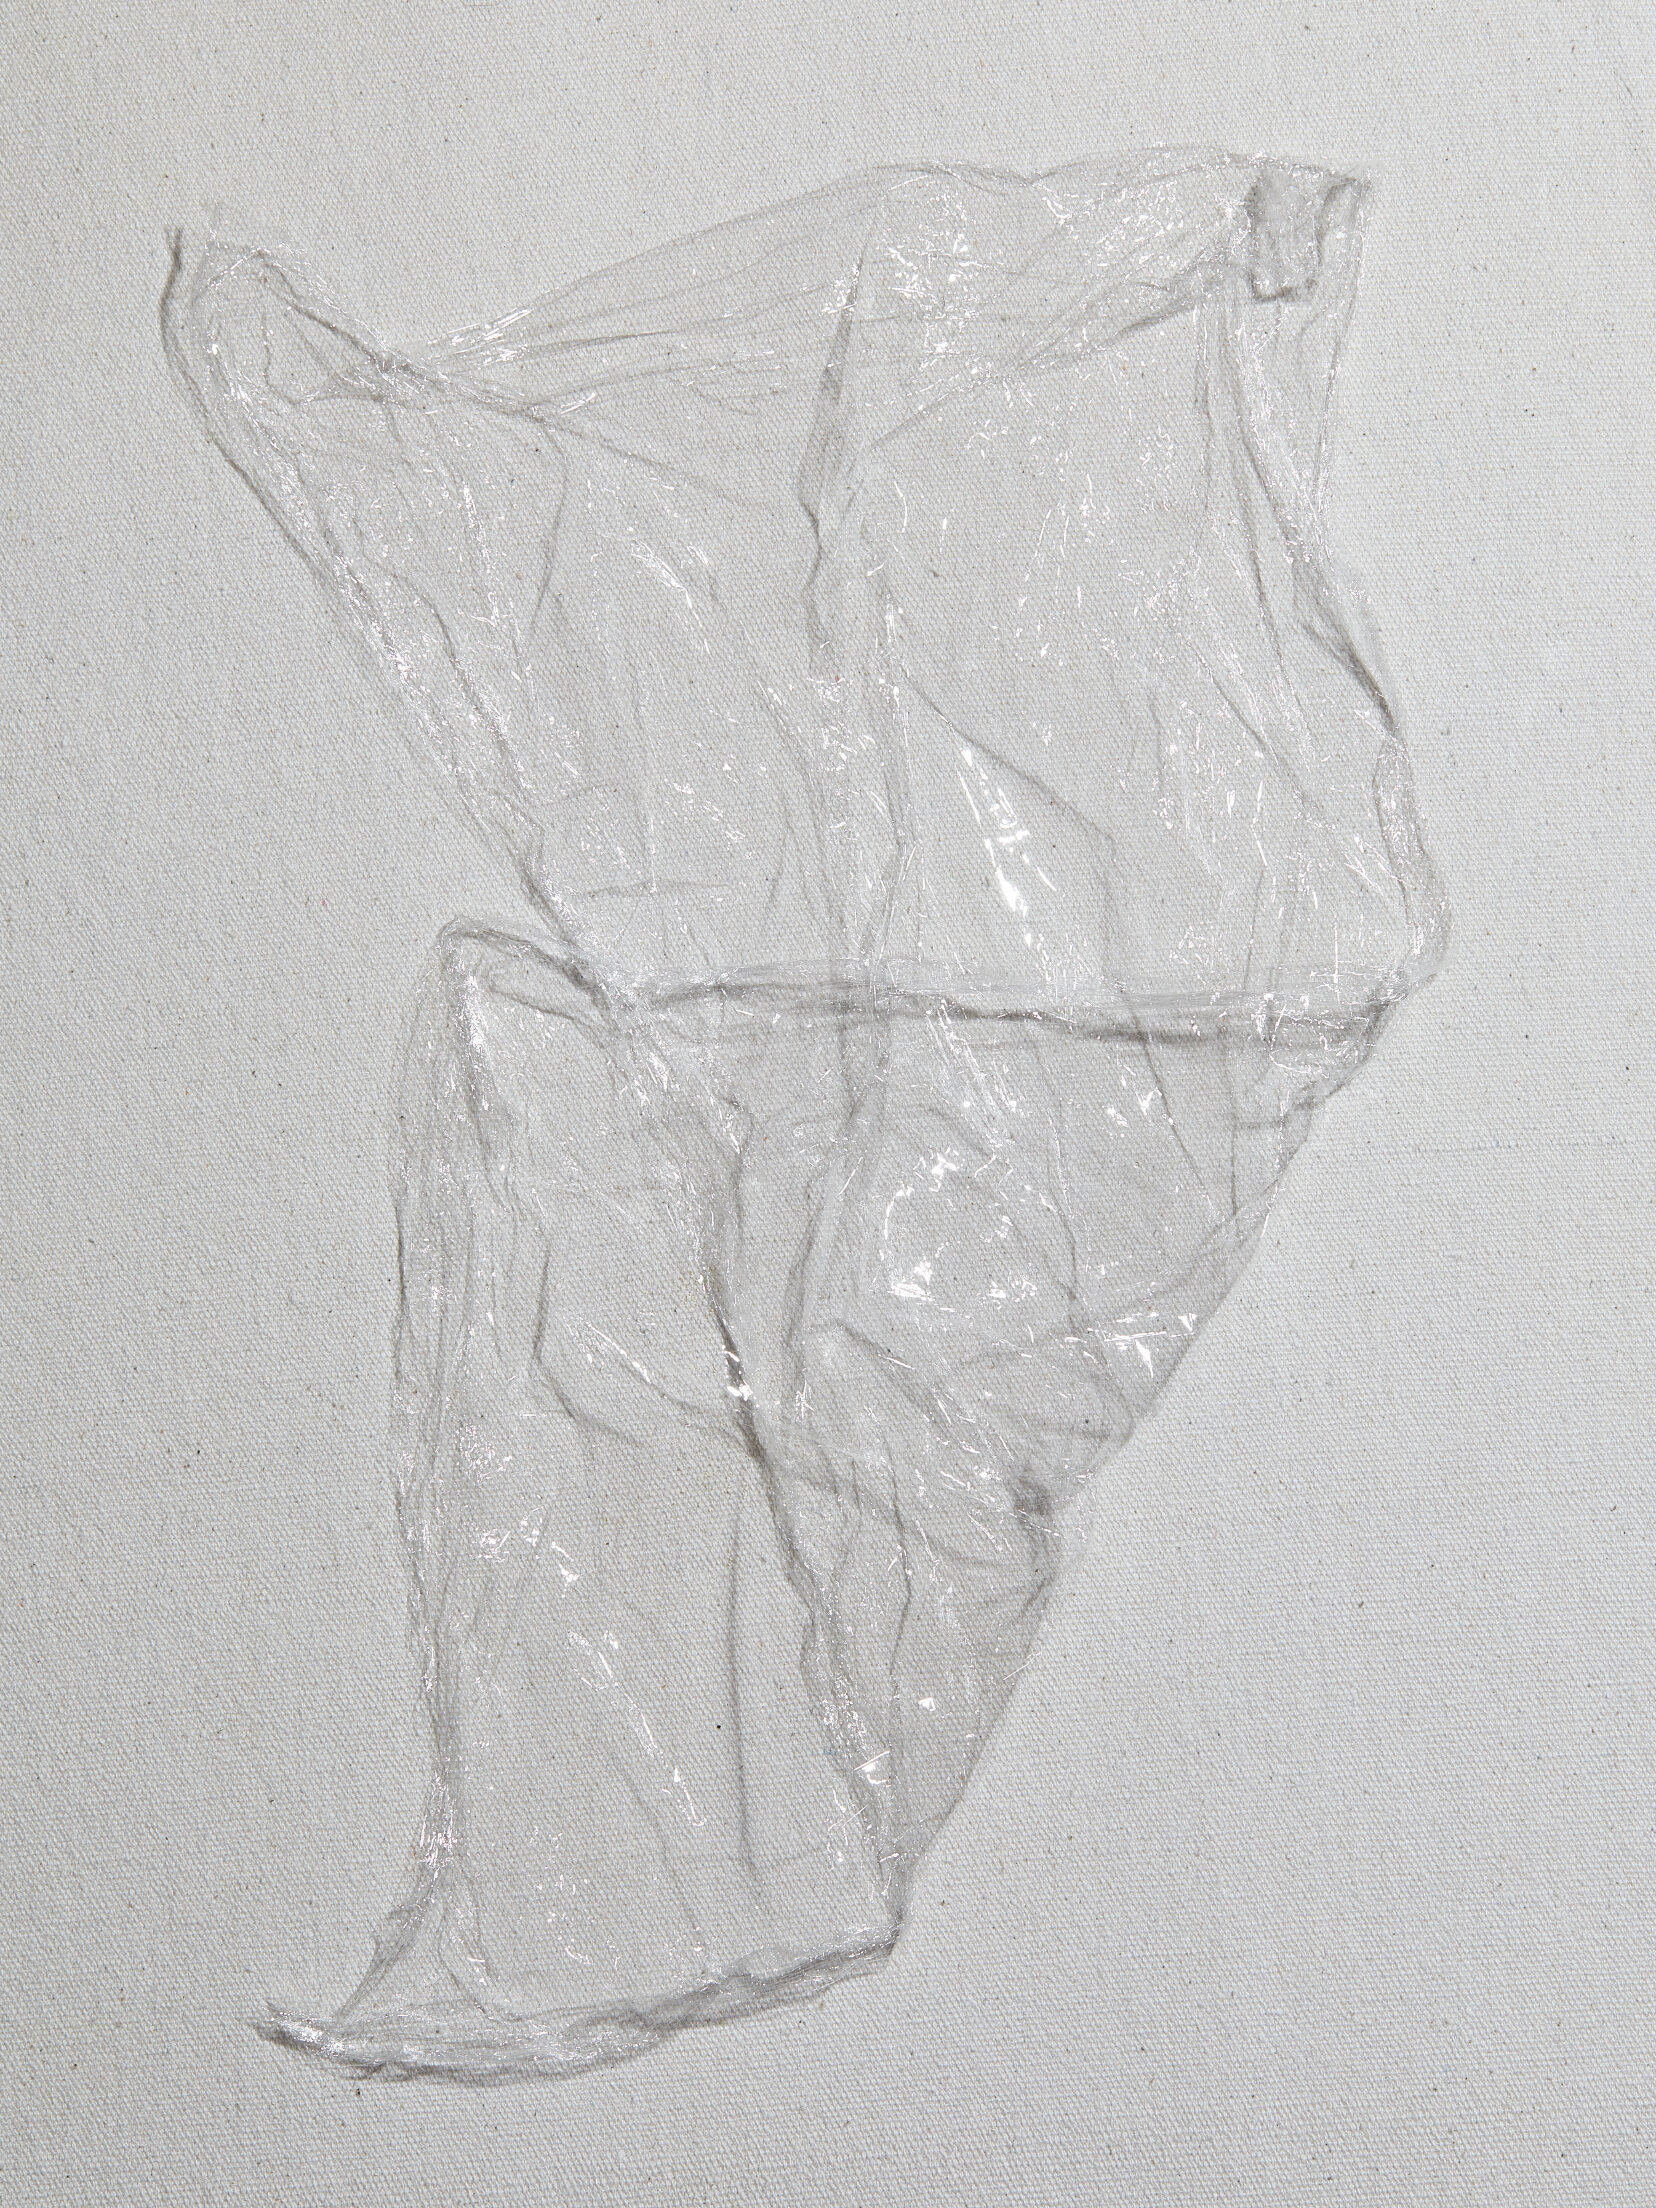
Plastic wrap
Knife


METHOD:
Step One, Thursday 9 pm: Mix the ingredients and Rest the Dough
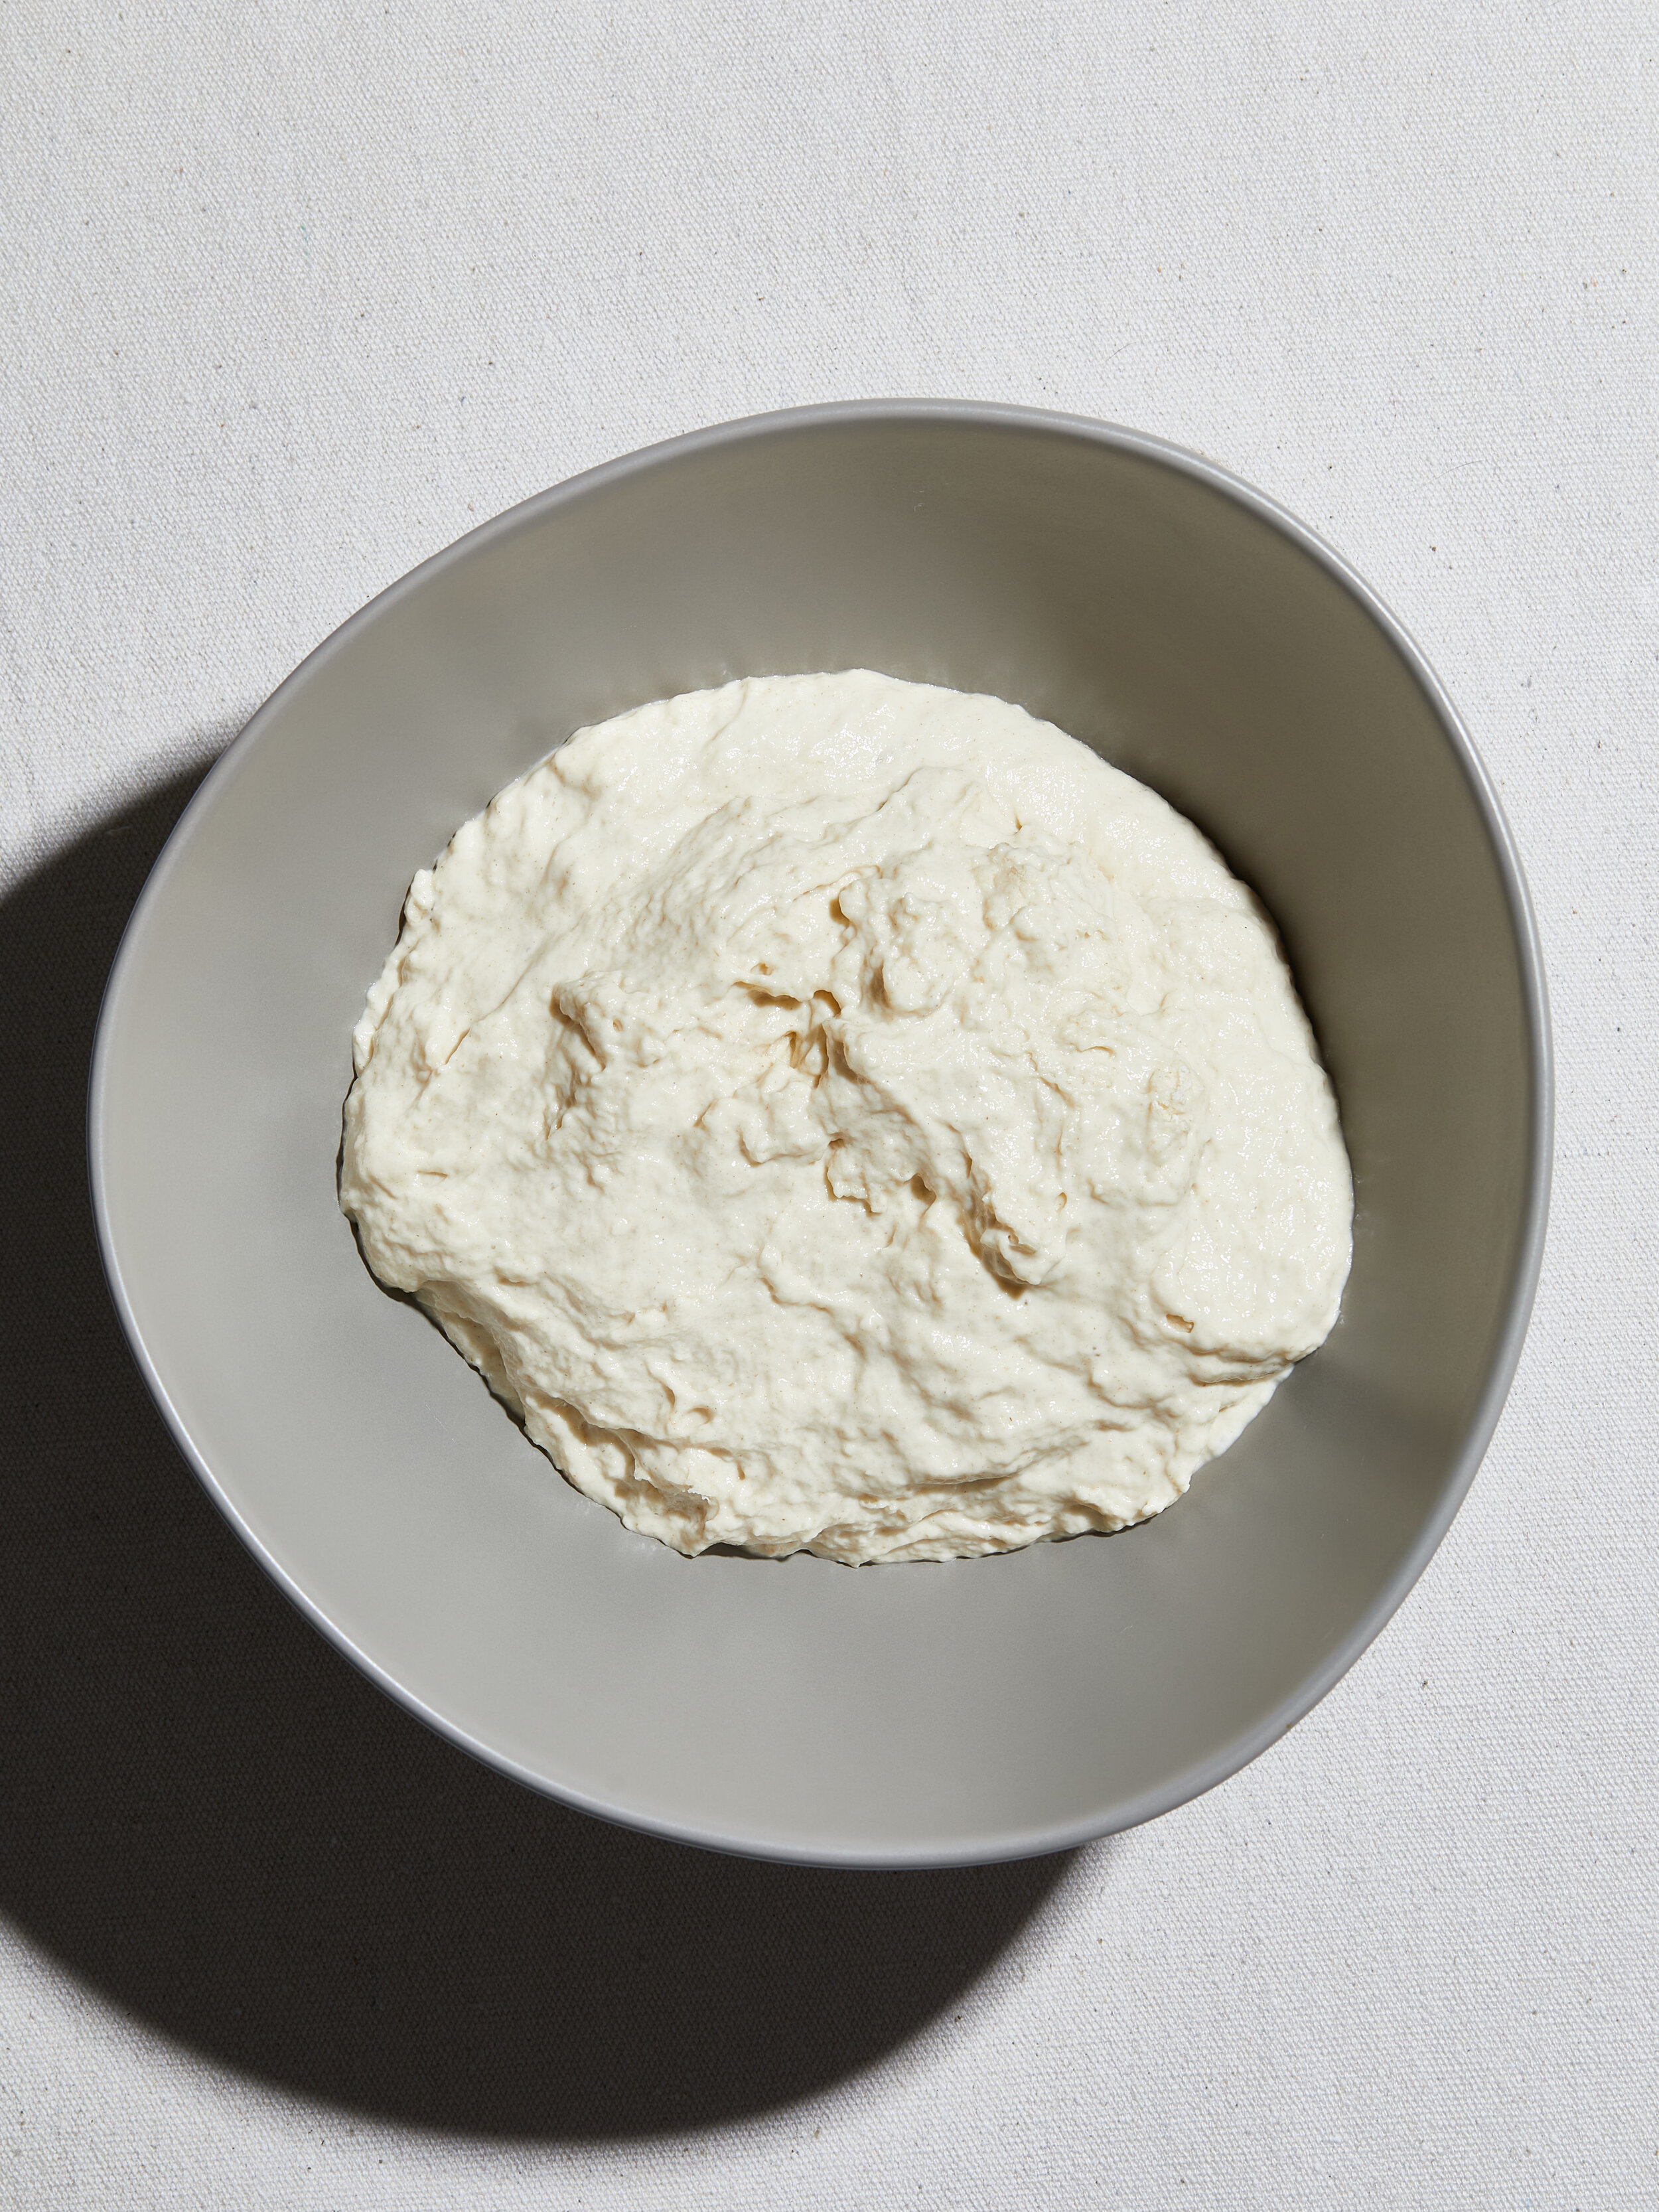
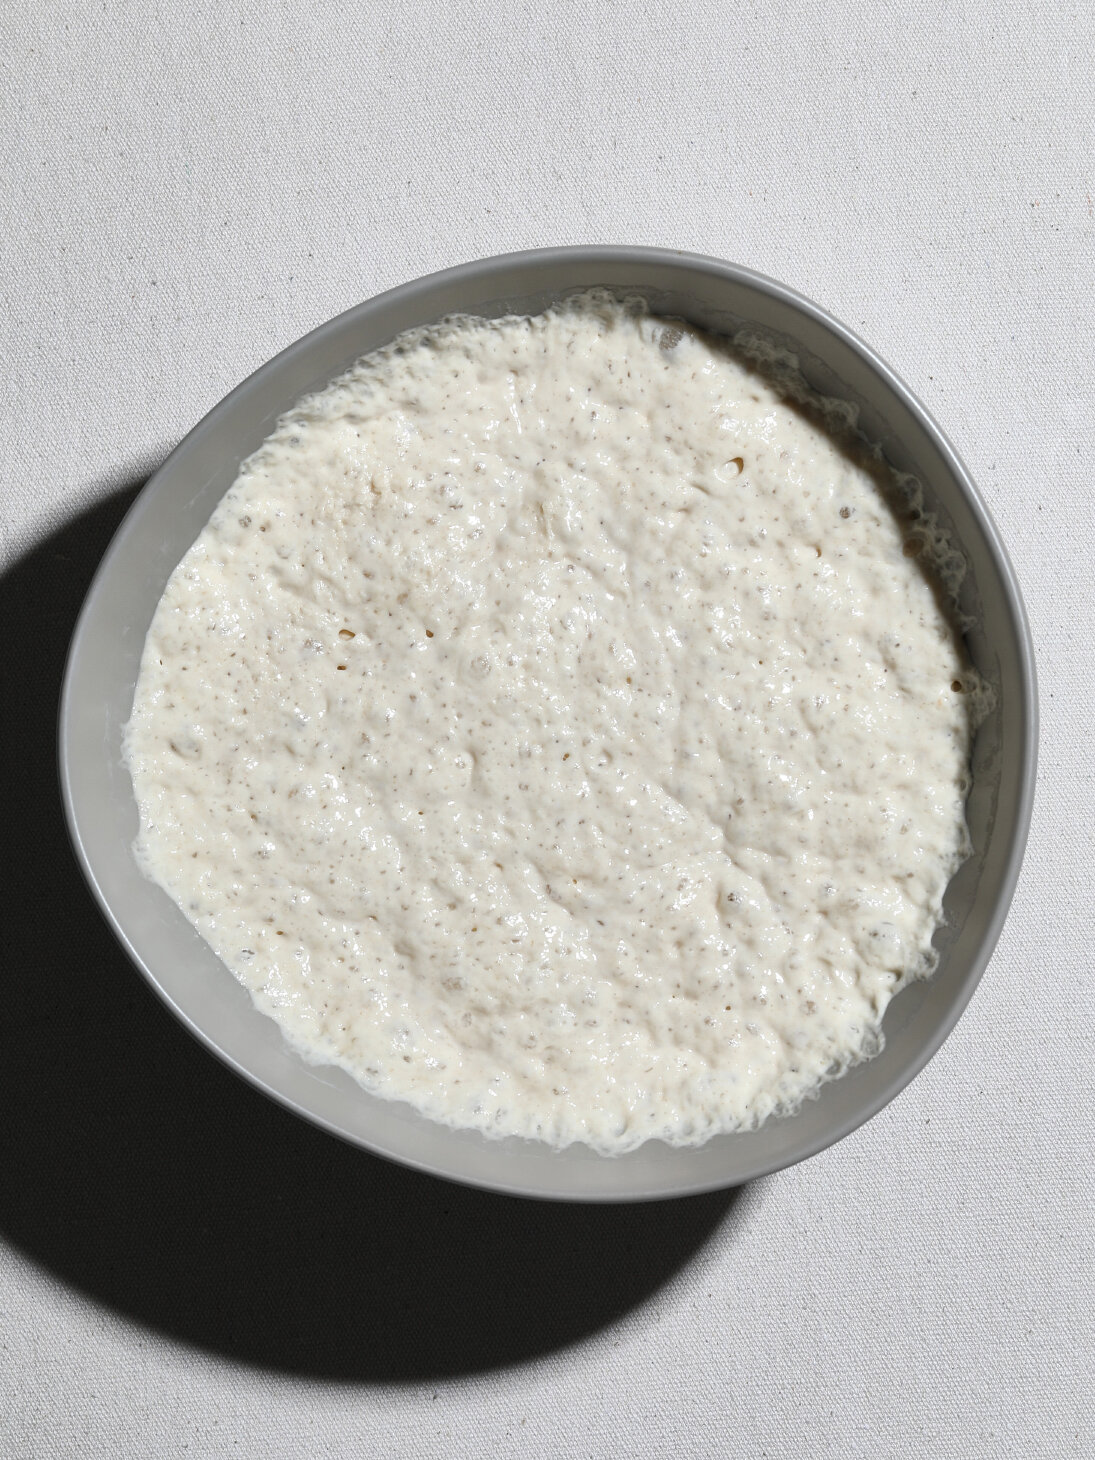
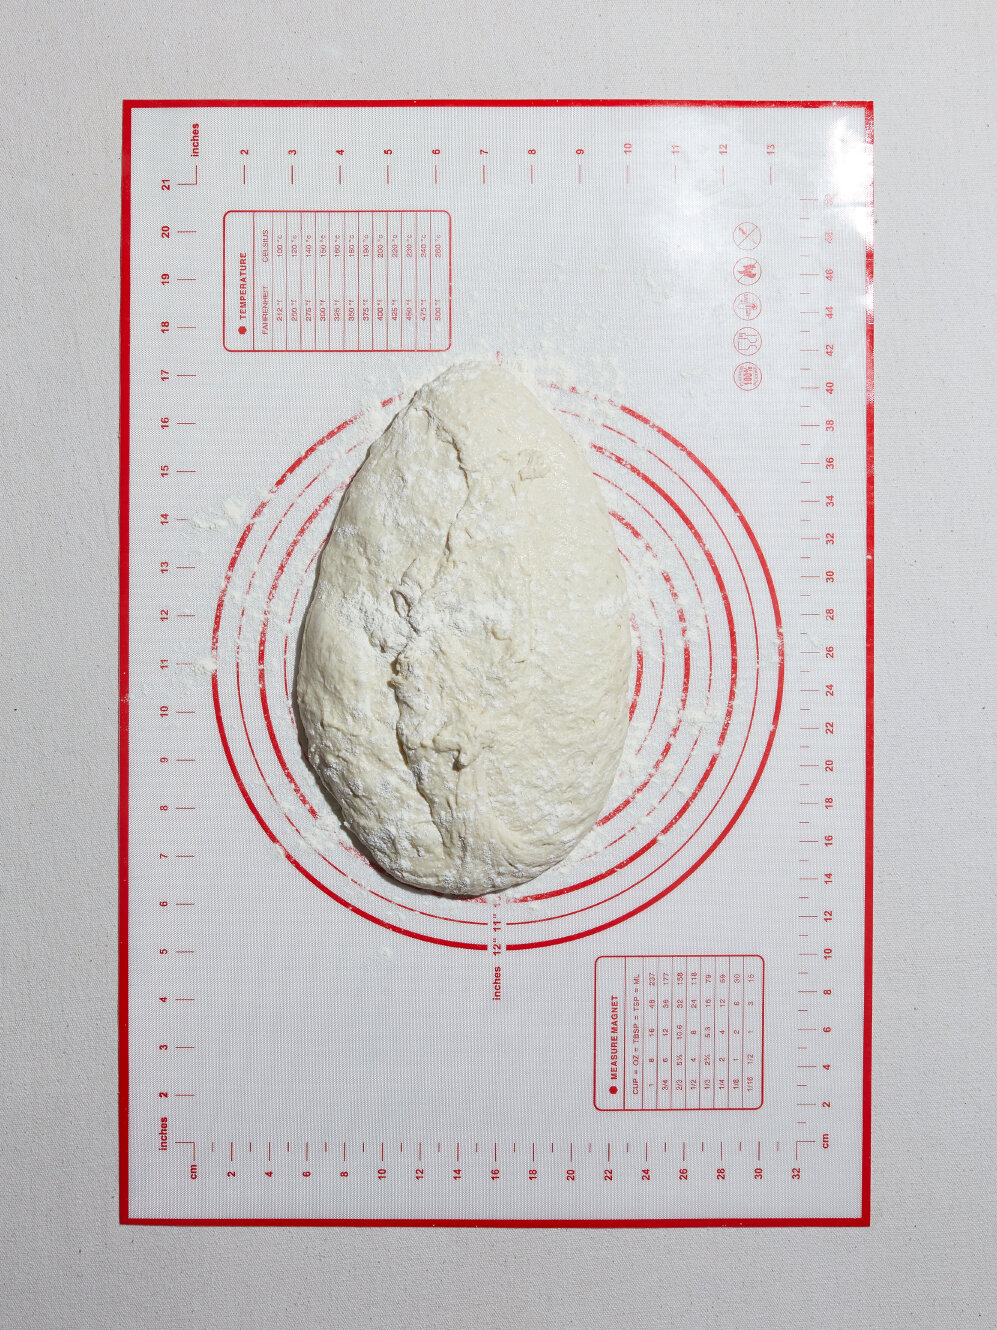
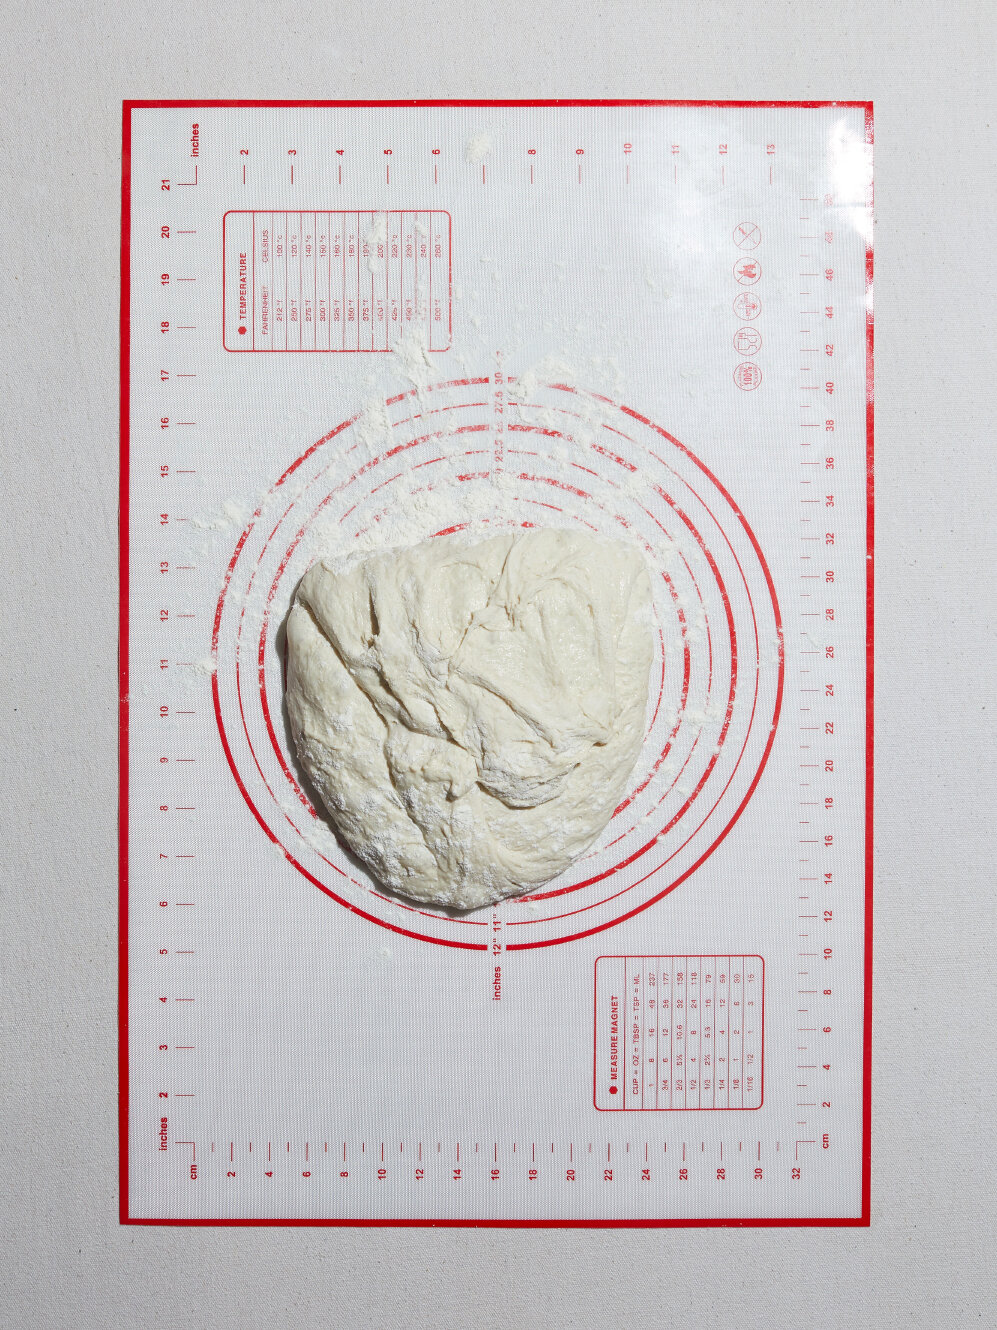
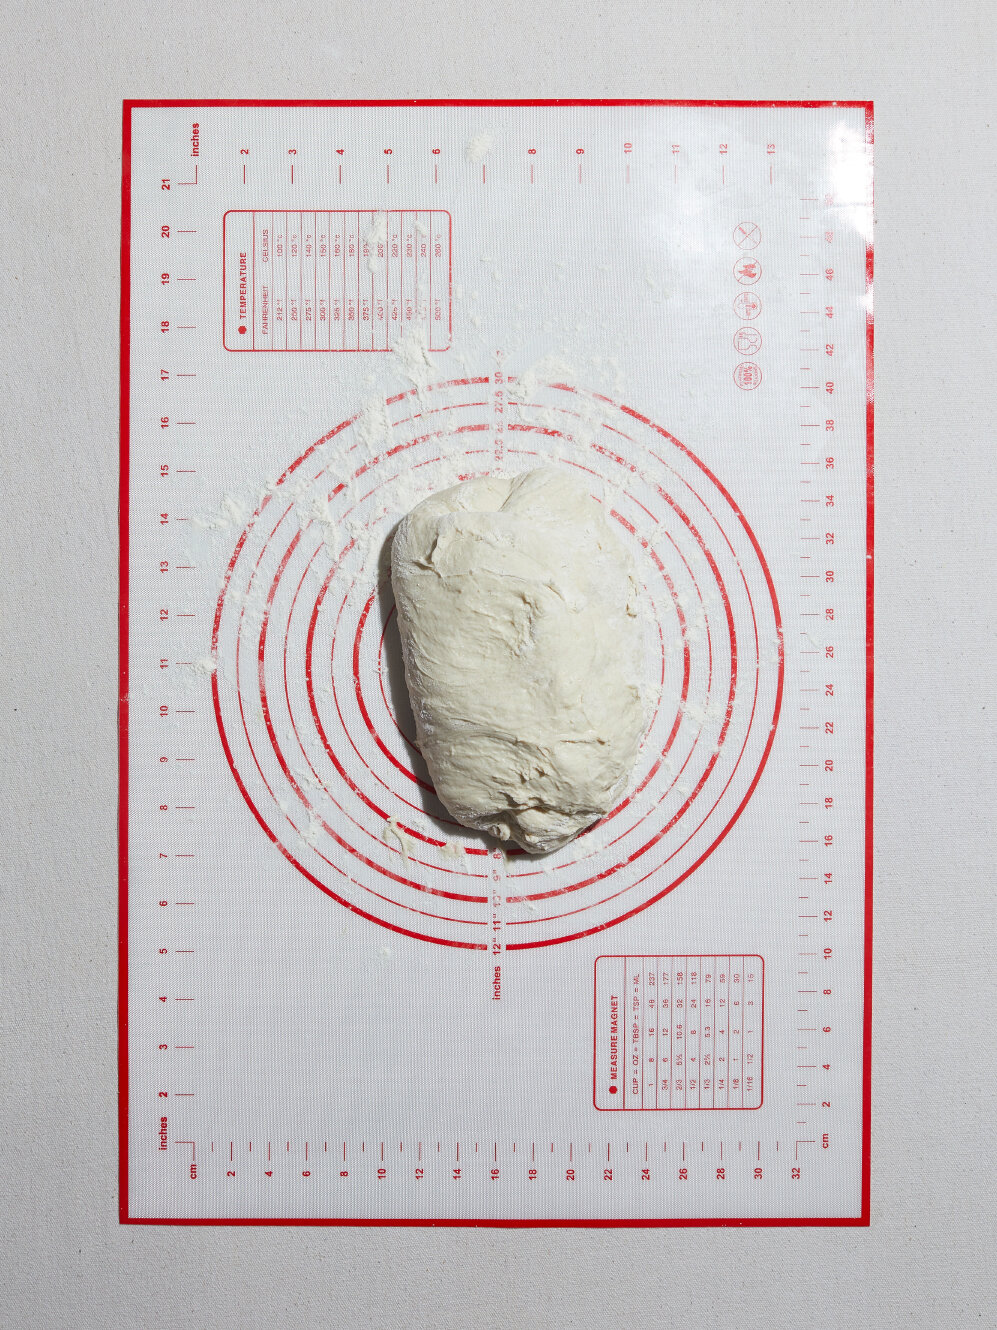
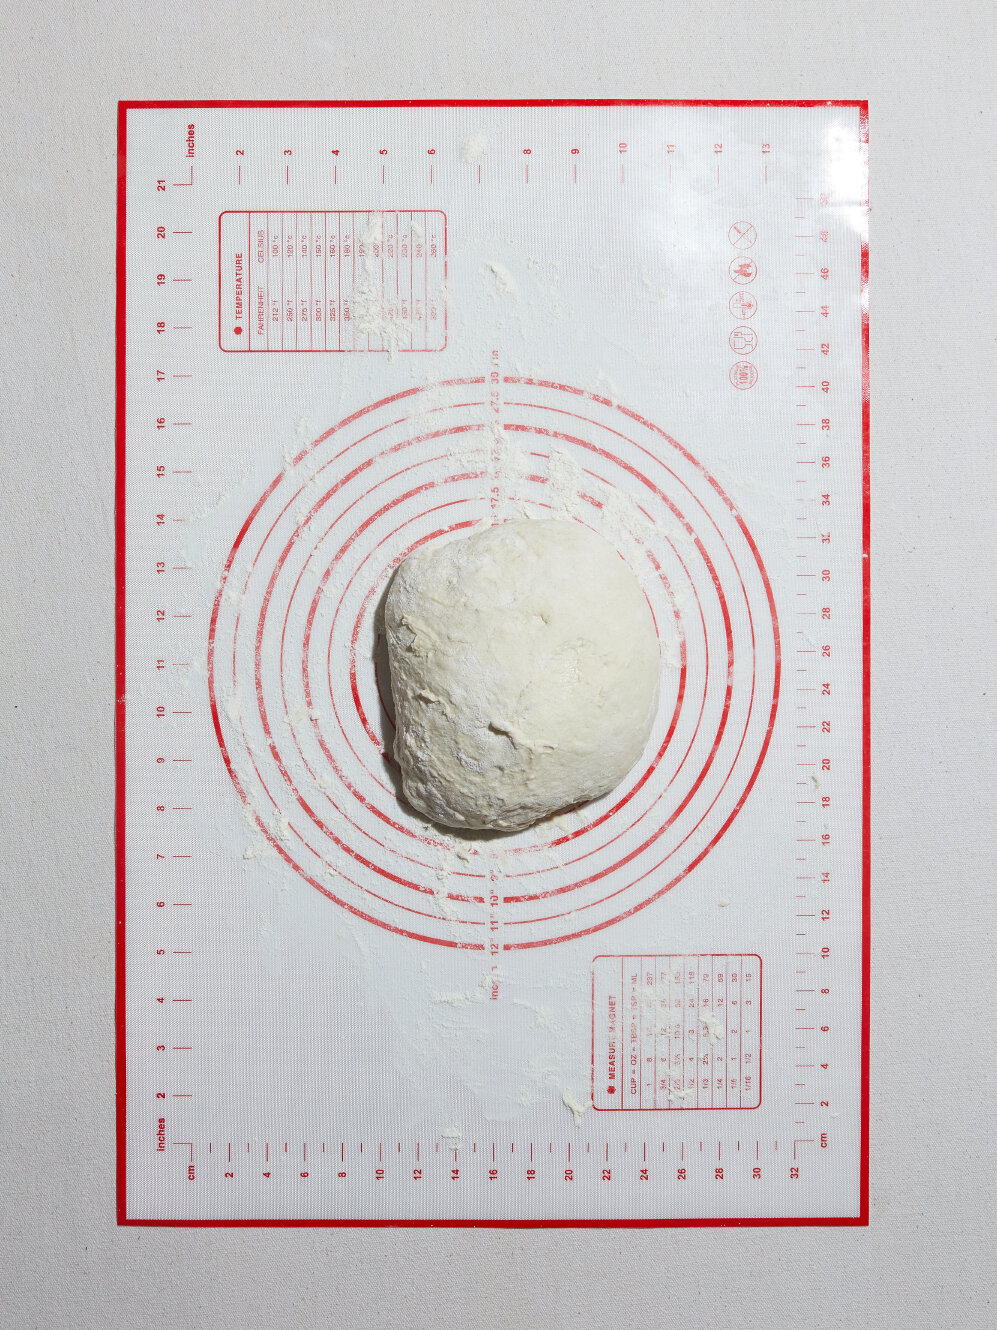
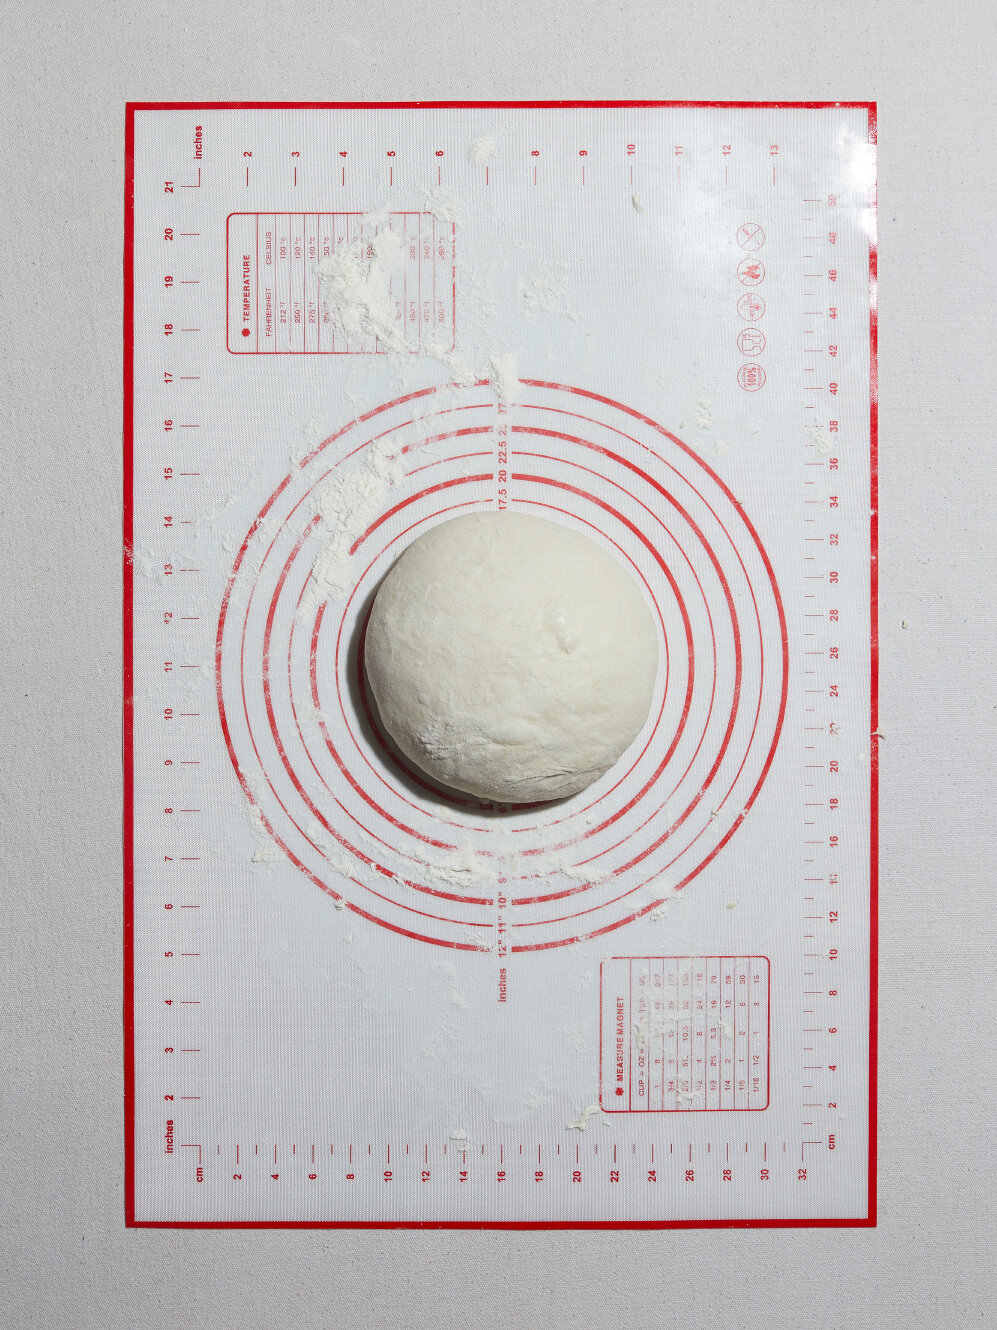
In a large bowl add the flour, instant yeast and salt and mix lightly with your hands. Add the lukewarm water and combine with your hands until fully incorporated. The dough will look similar to the picture on the left. Cover with plastic wrap and place in a shaded area in a room without the air-conditioning turned on. Let the dough rest for 13 hours. After 13 hours the dough should look like the picture on the right.
Yeast Tip: Instant yeast is not the same as dry active yeast. Don’t use them interchangeably.
Water Tip: The temperature of the water is an important factor in bread making. We are looking for lukewarm water, when putting your finger in the water, it shouldn’t feel cold or hot, this is usually a temperature of around 30 degrees Celsius. A water dispenser helps me reach lukewarm water. I start by filling the measure up ¼ full of hot water then start filling it up with cool water until I reach my desired temperature.
Temperature Tip: The temperature of the room is an important factor in bread making. Make sure there is no direct sunlight on the dough throughout its rest time. My ideal resting place for the dough is on top of my fridge overnight with the air-conditioning turned off. This gives the dough a warm place to rise.

Step Two, Friday 10 am: Fold and Rest the Dough
Lightly dust a work surface with flour and gently tip the dough out the of the large bowl and onto the work surface. Dust the top of the dough with flour. Grab the top of the dough, softly stretch it upwards and fold downwards to the middle of the dough. Grab the bottom of the dough, softly stretch it downwards and fold upwards to the middle of the dough. Grab the right side of the dough, softly stretch it to the right and fold leftwards to the middle of the dough. Grab the left side of the dough, softly stretch it to the left and fold rightwards to the middle of the dough. Grab the bottom of the dough and start rolling the dough on top of itself until the bottom of the dough rolls onto the top. Lightly dust the dough with flour and cover with a kitchen towel while on the work surface and let the dough rest for 15 minutes.
Flour Tip: This is a sticky dough by nature. Feel free to add additional flour when needed. When I started with this recipe, I used to add a lot of flour when folding, as I became more comfortable with handling dough, I would use less and less flour. It’s a learning process, just err of the side of less flour, when you can.

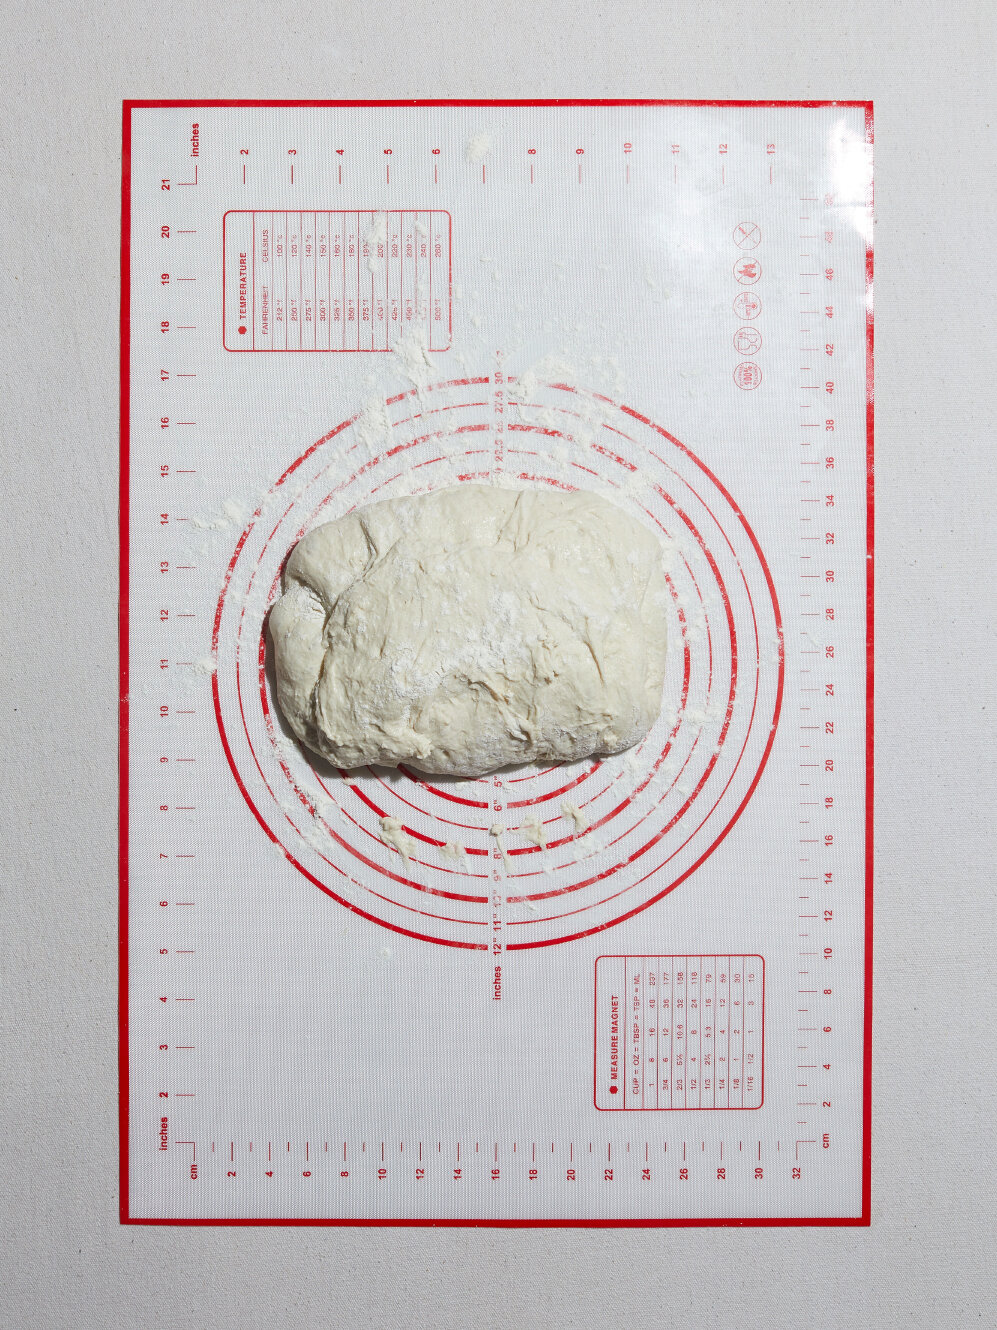
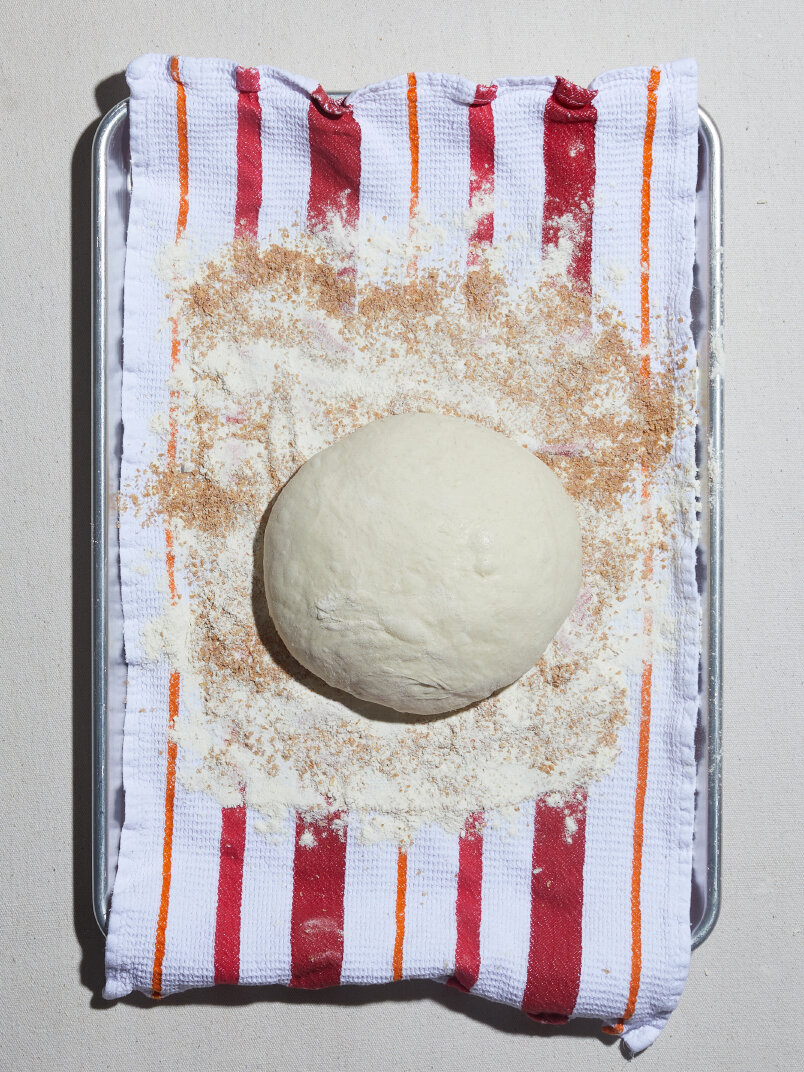
Step 3, Friday 10:15 am: Shape and Prepare the Resting Tray
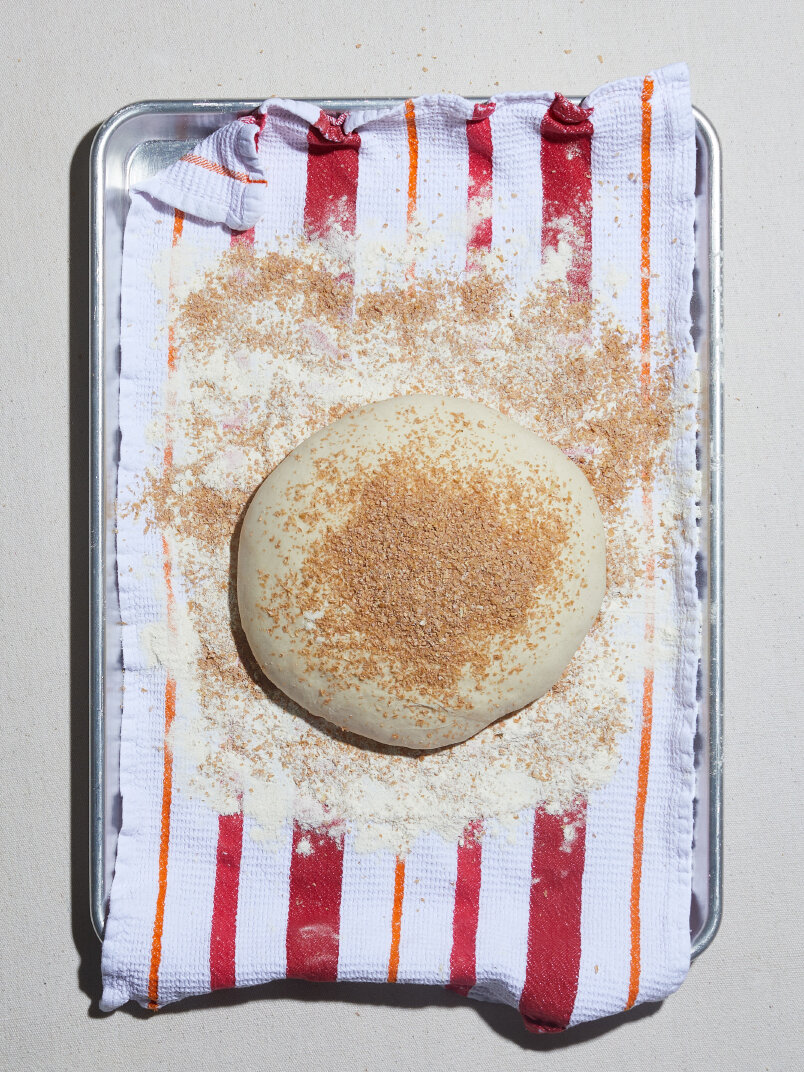
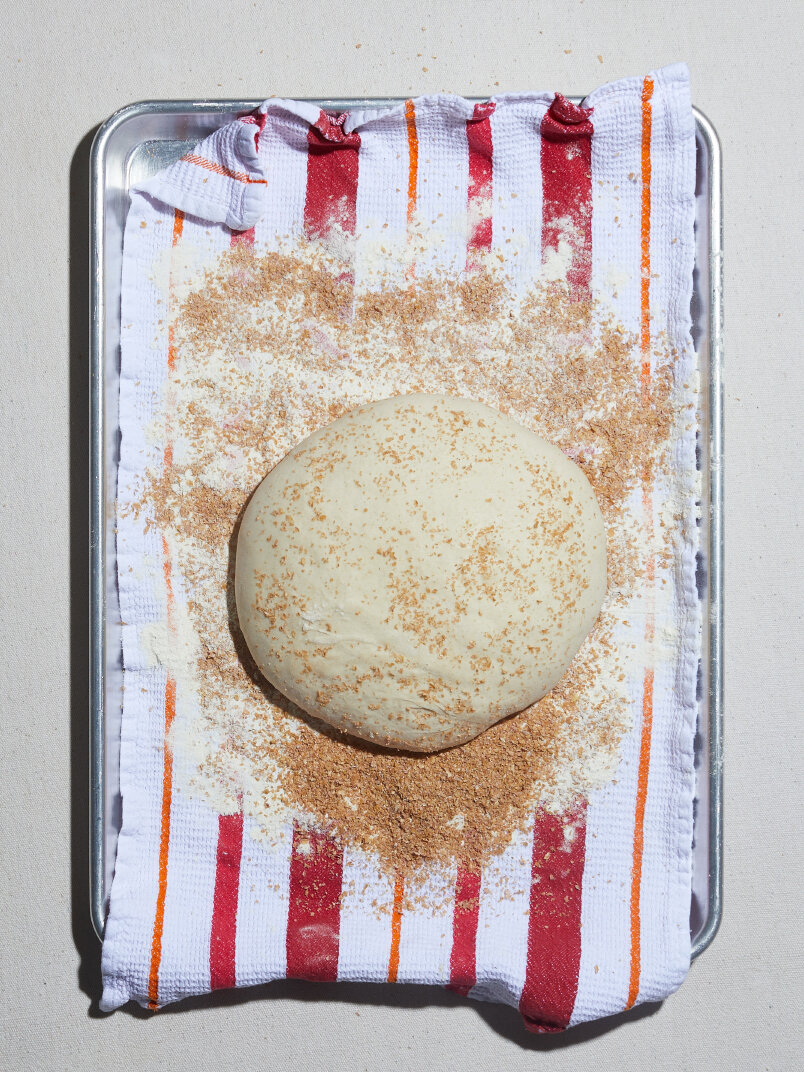
Place a kitchen towel on a baking sheet, add flour and wheat bran to the center and lightly combine with your hands. We are going to rest the dough on this mixture which insures it doesn’t stick to the towel. Because Dubai is very humid be generous with the flour and wheat bran.
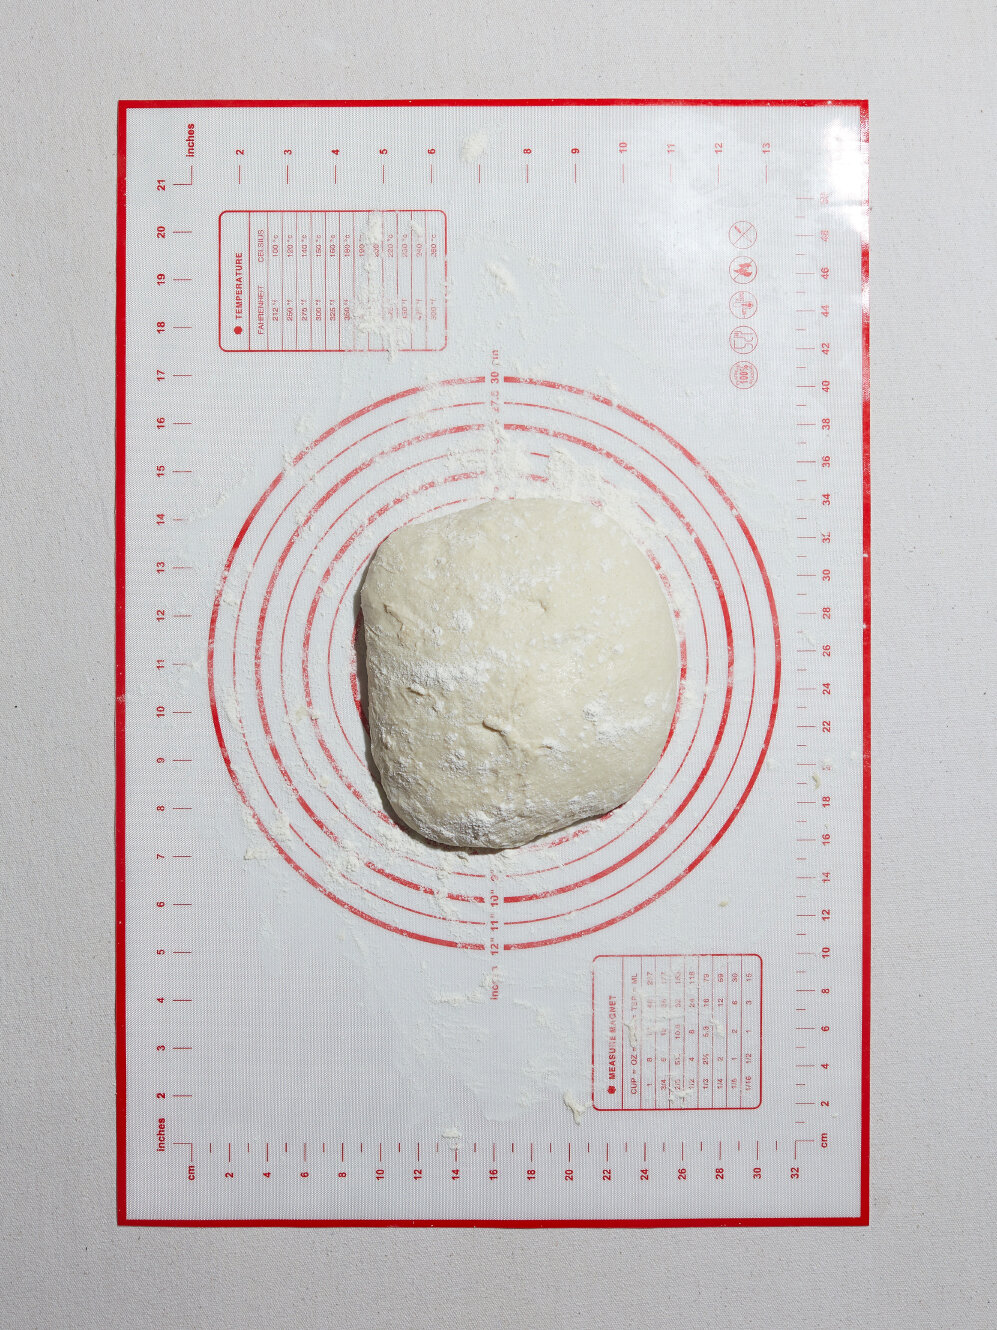
Lightly dust the work surface and dough with flour and quickly shape the dough into a ball. Cup the top sides of the dough with your hands, push your fingers in and under the dough and drag the dough towards you. Complete this step around three times.
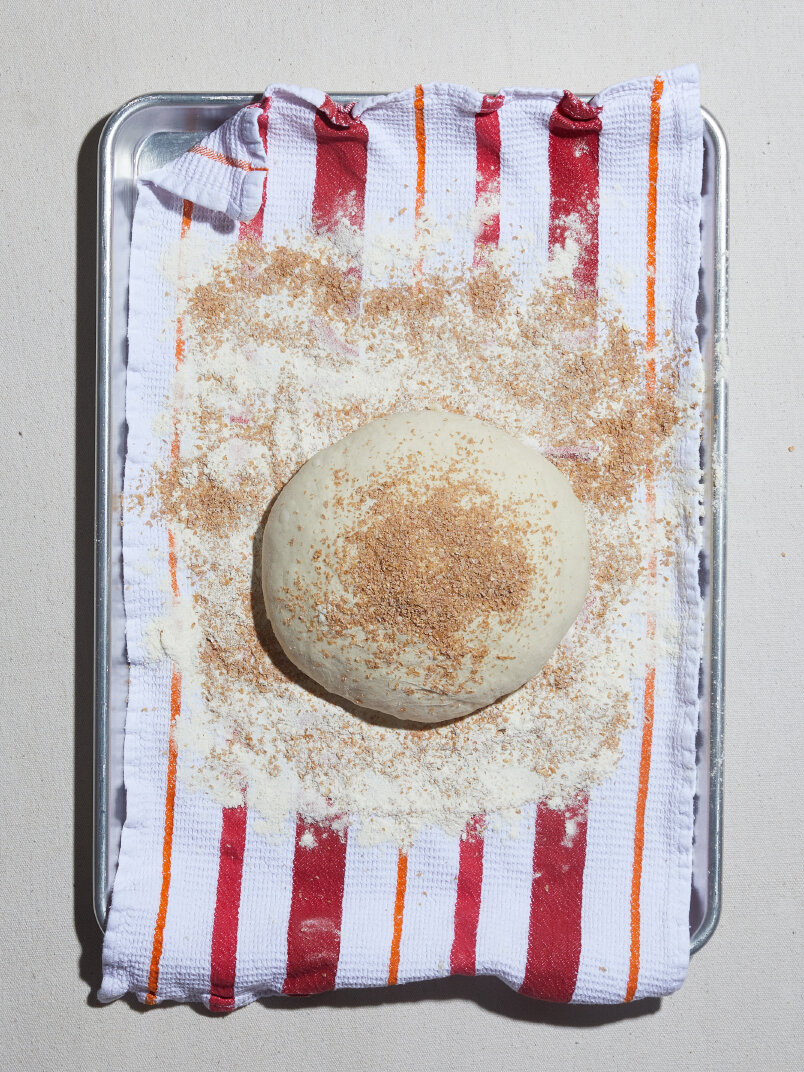
Gently pick up the dough and place it on floured tray, make sure the same side faces downwards. Top the dough with wheat bran and cover with a kitchen towel and let the dough rest for 1 hour.

Step 4, Friday 10:30 am: Preheat Oven and Cast Iron
When there is 45 minutes left to the resting time, preheat your oven with the cast iron pot and lid to 250 degrees Celsius.
Oven Tip: For electrical ovens, set the oven mode on fan (Important).
Cast Iron Pot Tip: When you place your cast iron pot in the oven make sure the lid is lying separate to the pot so the inside of the pot warms up as well.
Step 5 Friday 11:45 am: Baking Sheet and Score
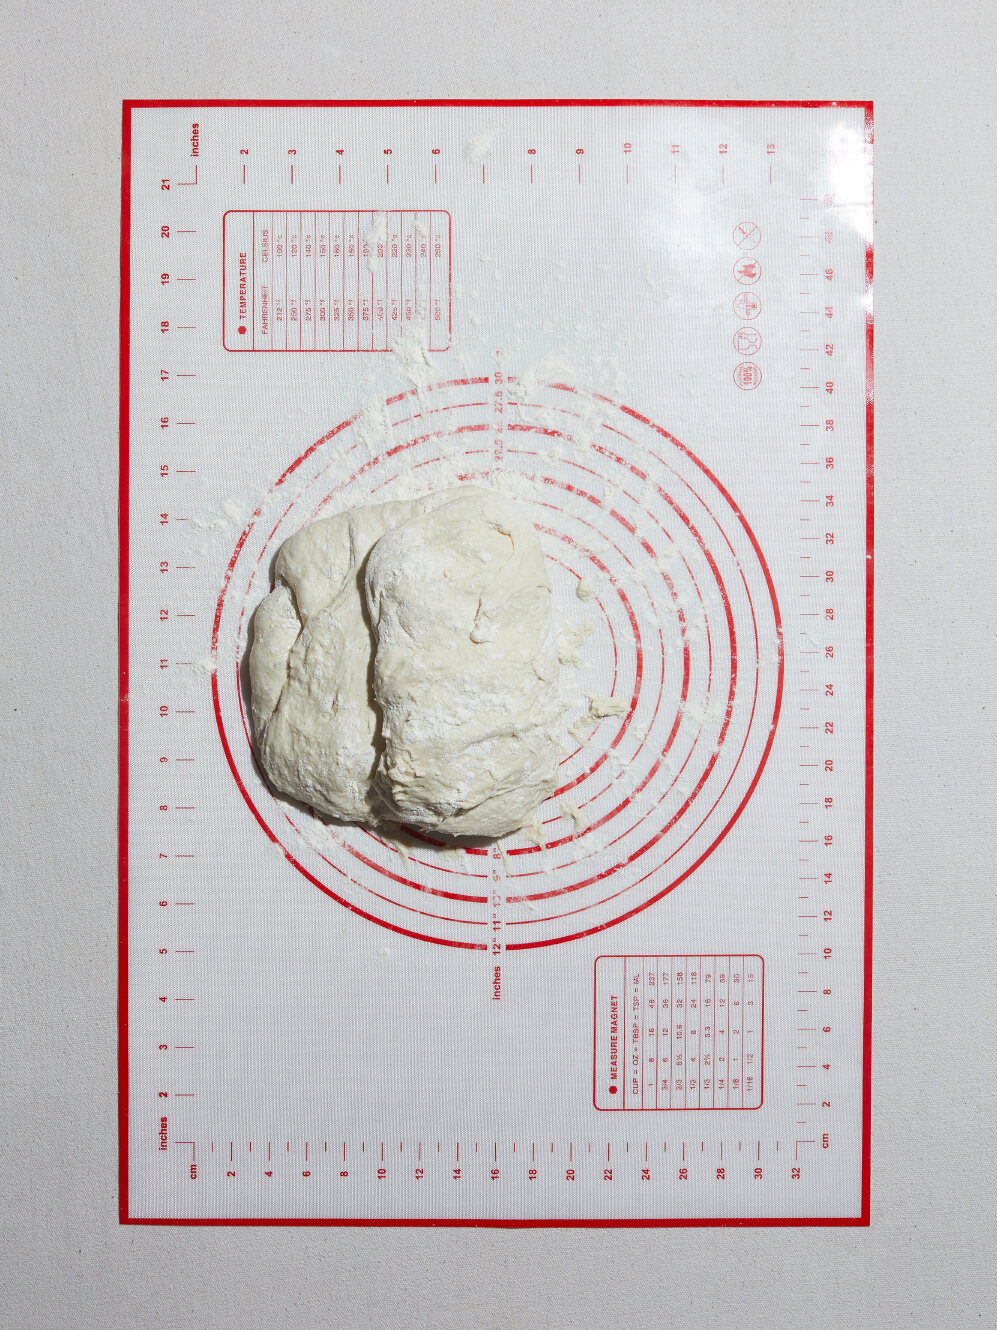
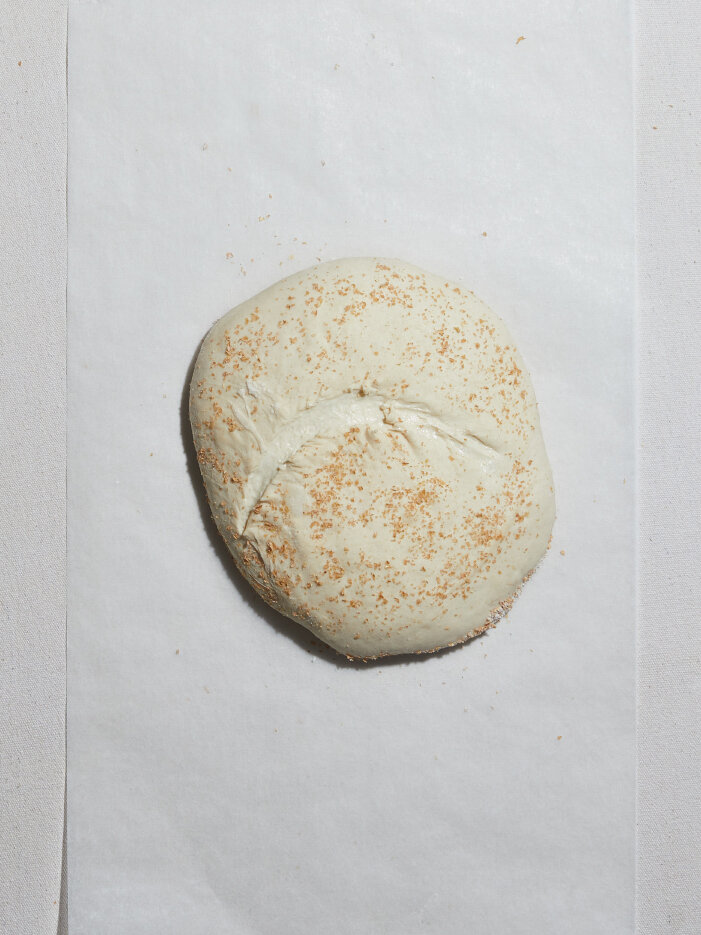
After one hour has lapsed, gently remove the towel from the dough, making sure nothing has clung to the towel. Gently dust off the excess wheat bran from the top of the dough. Gently pick up the dough and place it on the parchment paper. Score your dough with a sharp knife following a half moon shape.
Step 4, Friday 11:45 am: Bake
With oven mitts on, take the cast iron pot and lid out of the oven. Holding the ends of the baking paper, lower the dough into the pot. Cover with the lid and place into the oven. Bake for 30 minutes with the lid on and bake for another 15-20 minutes with the lid off.
Baking Tip: When you take the lid off the pot, the bread would have taken its full form and will be a light blond in color. Taking the lid off starts the baking process for the crust. After the 15 minutes, have a peak at your bread and gauge how dark you want your crust to be. If you bake for more than 20 minutes with the lid your crust will start to become too hard and thick.
Step 5, Friday 12:30 pm: Rest
Leave the dough out to rest for 30 minutes before you cut into it and Enjoy!

FARMHOUSE BREAD
Photography, Food Styling, Prop Styling by: TALA SOUBRA
I read and reply to all comments. So please do share your thoughts about the recipe.
FOLLOW ME ON INSTAGRAM